VHS-C Repair: Complete Guide for Professionals
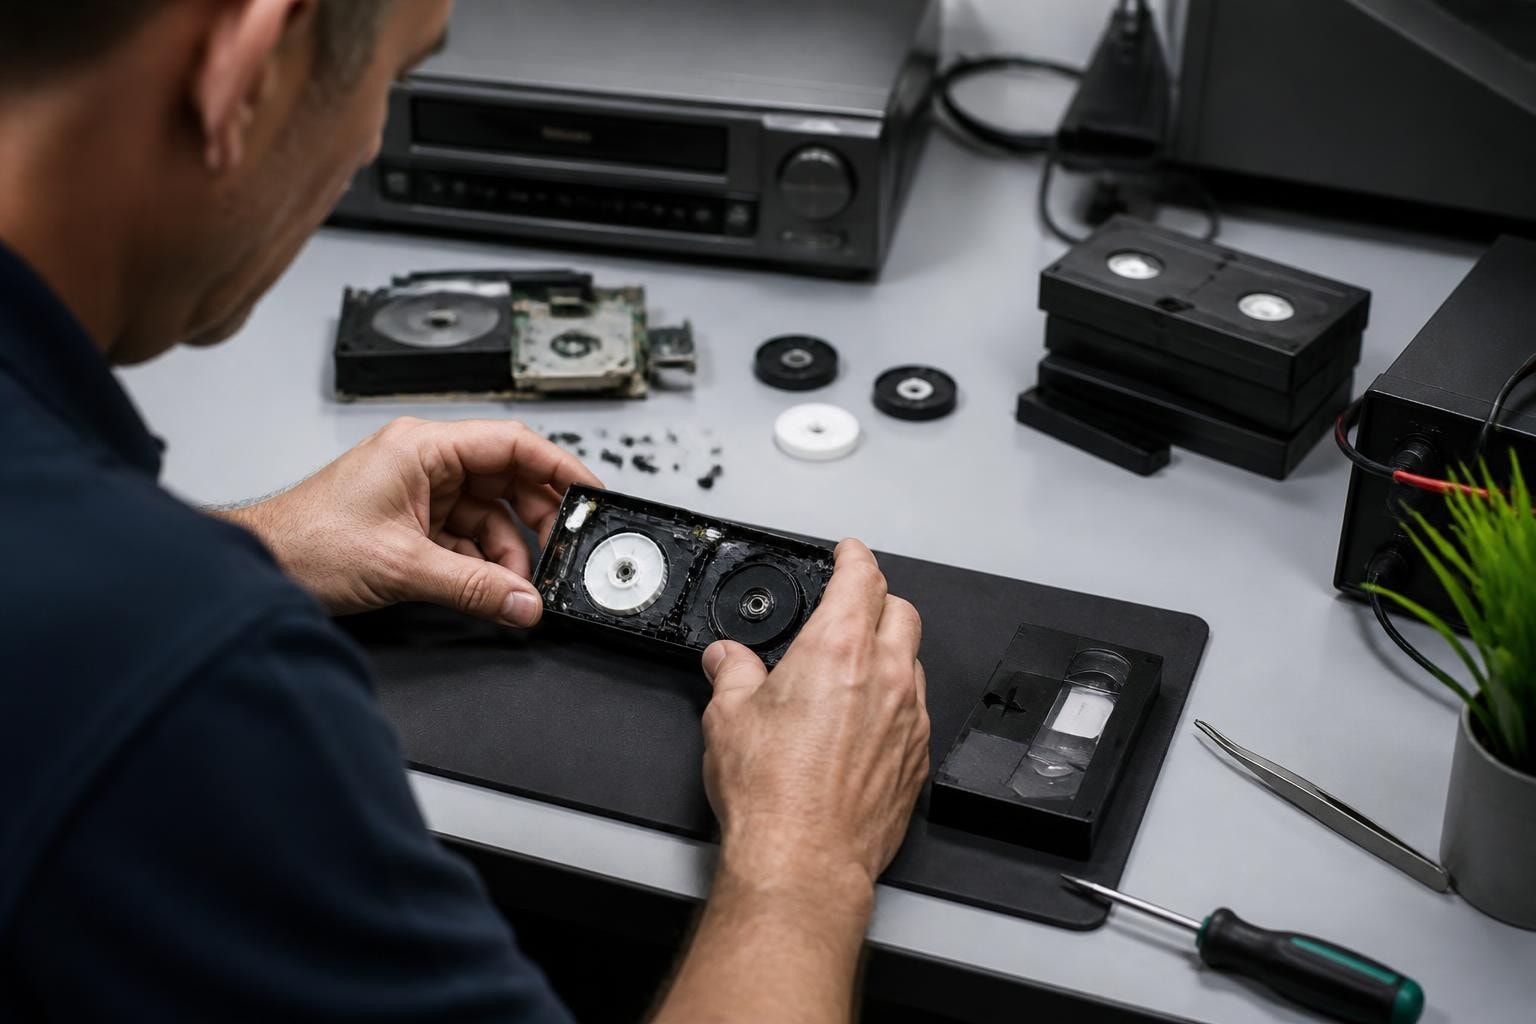
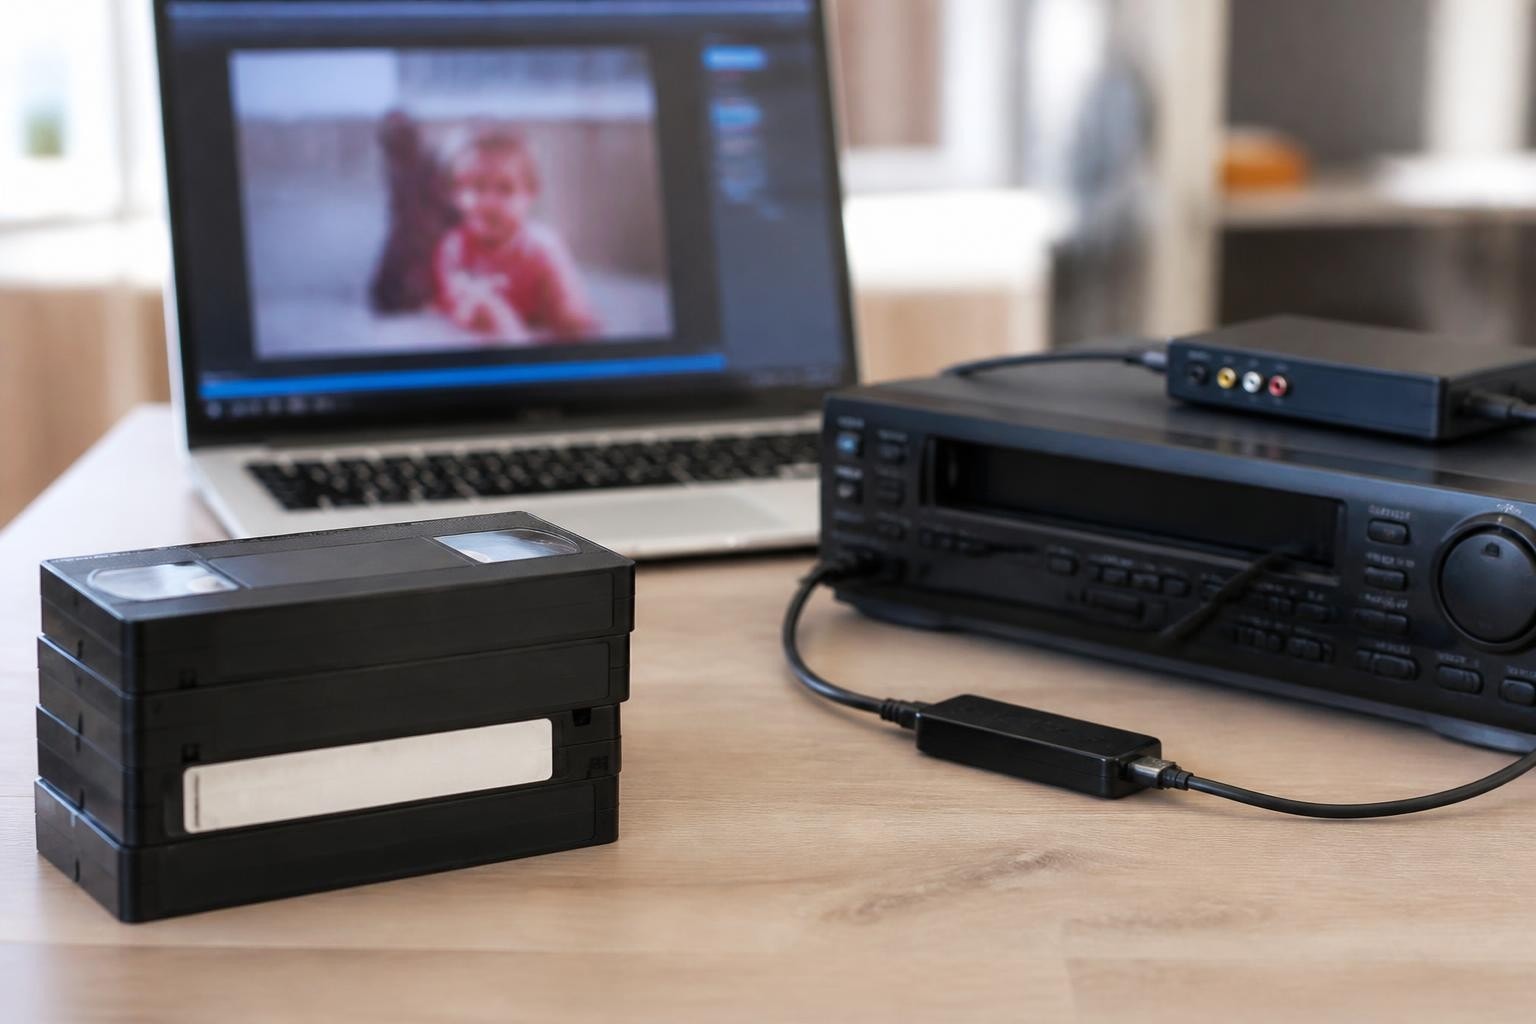
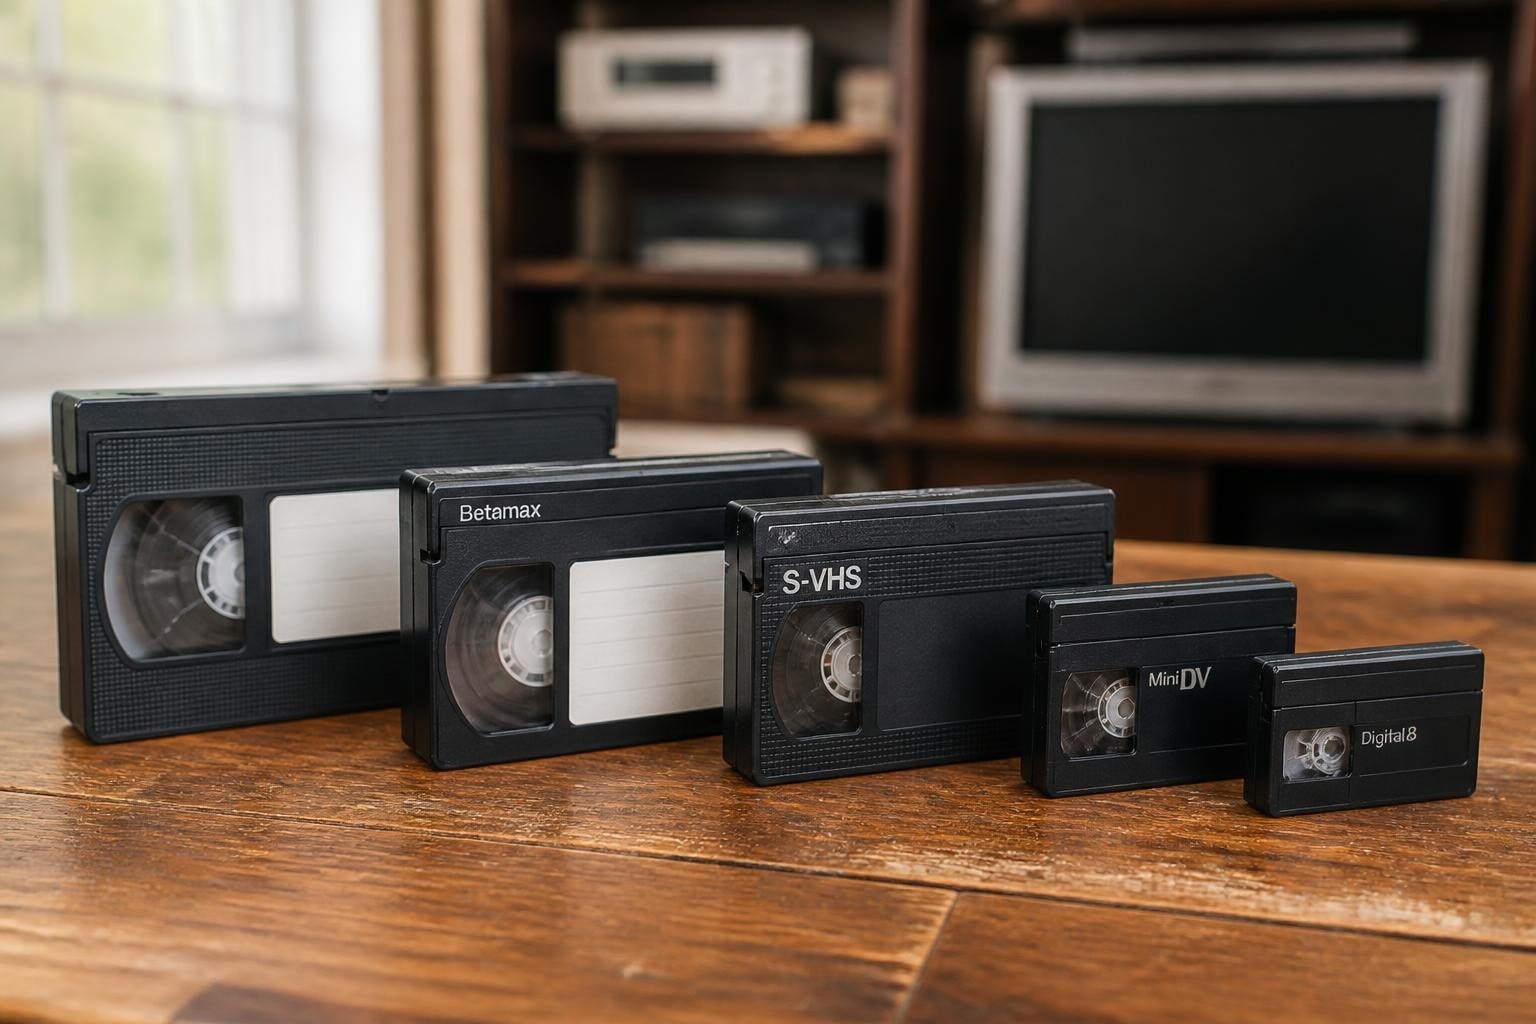
VHS-C cassettes represent a unique challenge in the world of videotape repair and digitization. These compact cassettes, introduced in 1982 as a portable alternative to full-size VHS, contain the same tape formulation as their larger counterparts but house it in a significantly smaller shell. For digitization shops and archival facilities, understanding the mechanics and failure modes of VHS-C repair is essential to salvaging irreplaceable memories and historical content. While the format has been obsolete for nearly two decades, millions of these cassettes remain in circulation, many containing one-of-a-kind recordings that require expert handling and repair before successful playback becomes possible.
Understanding VHS-C Cassette Construction
VHS-C cassettes differ substantially from standard VHS tapes in their internal mechanisms. The compact form factor necessitated ingenious engineering compromises that directly impact repair procedures today.
Internal Mechanism Differences
The VHS-C format uses the same half-inch oxide tape as full-size VHS but winds it onto smaller spools within a cassette measuring just 92mm × 59mm × 23mm. This compact design requires an adapter for playback in standard VHS decks, introducing additional points of failure.
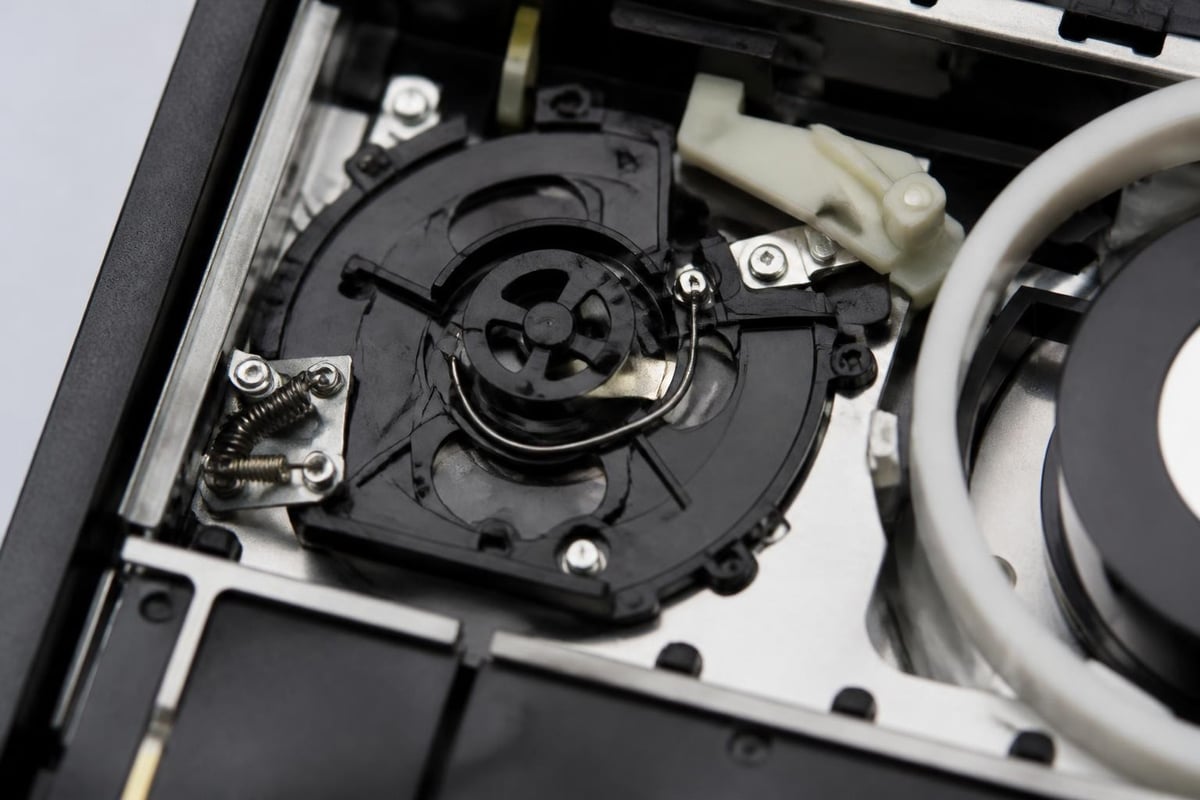
Inside each cassette, several critical components work in concert:
- Spring-loaded tape guides that deploy when inserted into an adapter or camcorder
- Brake mechanisms that prevent unwanted tape movement during storage
- Sliding door assemblies that protect the tape edge from contamination
- Reel locks that engage during shipping and storage
- Hub assemblies made from injection-molded plastic prone to stress fractures
The adapter itself contains motorized loading rings that extract tape from the cassette and position it around a full-size VHS tape path. Understanding this relationship is crucial for effective vhs c repair work.
Common VHS-C Failure Modes
Professional repair work begins with accurate diagnosis. VHS-C cassettes exhibit predictable failure patterns based on their age, storage conditions, and usage history.
Mechanical Component Failures
Physical damage accounts for the majority of VHS-C repair cases encountered in digitization facilities. The most frequent mechanical issues include:
| Component | Failure Type | Repair Difficulty | Success Rate |
|---|---|---|---|
| Brake Release | Spring fatigue, corrosion | Moderate | 85% |
| Tape Door | Hinge breakage, warping | Easy | 95% |
| Hub Gear Teeth | Wear, breakage | Difficult | 60% |
| Guide Rollers | Seized bearings | Moderate | 75% |
| Shell Integrity | Cracks, impact damage | Easy | 90% |
Brake mechanism failures present the most common repairable condition. Over time, the small springs that retract the brake pad lose tension or corrode, causing the tape to remain locked even when inserted into a player. This condition is often mistaken for a jammed tape but responds well to spring replacement or careful bending to restore proper tension.
Shell cracks and impact damage, while cosmetically concerning, rarely prevent successful playback if the crack doesn't interfere with the loading mechanism. The iFixit shell replacement guide provides excellent documentation for transferring tape assemblies between shells, a technique directly applicable to VHS-C repair when donor cassettes are available.
Tape Degradation Issues
Beyond mechanical problems, the magnetic tape itself deteriorates according to well-documented patterns. Sticky-shed syndrome, where binder hydrolysis causes the oxide coating to become tacky, affects VHS-C tapes identically to full-size VHS. The Canadian Conservation Institute provides detailed guidance on identifying and treating sticky-shed conditions before attempting playback.
Edge damage represents another critical issue unique to compact formats. Because VHS-C tape packs tightly within a small cassette, uneven winding creates high edge stress. Damaged edges manifest as:
- Accordion folding along the top or bottom edge
- Delamination where the backing separates from the oxide
- Creasing from cassette shell deformation
- Guide damage from misaligned adapters
Temperature cycling exacerbates these conditions. Cassettes stored in attics, basements, or vehicles experience expansion and contraction cycles that stress both tape and shell components.
Diagnostic Procedures for VHS-C Repair
Systematic diagnosis saves time and prevents further damage during vhs c repair attempts. A methodical approach identifies which cassettes warrant repair effort versus immediate digitization attempts.
Visual Inspection Protocol
Begin every repair assessment with thorough visual examination before powering any equipment. Open the tape door by manually sliding the protective panel and inspect the exposed tape edge under bright light.
Red flags requiring immediate attention:
- White powder or crystalline deposits on tape surface (mold)
- Vinegar odor (acetate base deterioration, rare in VHS-C)
- Visible tape creasing or folding
- Loose tape that rattles inside the shell
- Broken or missing guide posts
Document the cassette's physical condition with photographs. This documentation proves invaluable when explaining repair limitations to clients or making preservation decisions for archival collections, as outlined in the Library of Congress magnetic media care guidance.
Mechanical Function Testing
Test each mechanical subsystem independently before attempting playback. This isolation helps pinpoint specific failure points and prevents cascading damage.
Start with the brake release mechanism. Insert a clean adapter and verify that the brake disengages completely when the adapter's loading arm engages the cassette's release lever. If the brake remains engaged, apply gentle pressure to the release lever while manually rotating the supply hub. Resistance indicates spring tension problems or corrosion binding the brake pad.
Next, examine the tape door operation. The door should slide smoothly without binding or requiring excessive force. Sticky doors often indicate dried lubricant or plastic deformation from heat exposure.
Finally, check hub rotation. Both supply and take-up hubs should rotate freely without wobble or binding. Excessive play indicates worn hub bearings, while binding suggests debris or deformed hub assemblies.
Repair Techniques and Best Practices
Successful vhs c repair requires specialized tools, clean workspace organization, and methodical technique development. Professional digitization shops maintain dedicated repair stations to prevent contamination cross-transfer between cassettes.
Essential Repair Tools
Building a functional VHS-C repair capability requires modest investment in specialized equipment:
- Precision screwdriver set with JIS (Japanese Industrial Standard) tips
- Anti-static brushes for tape cleaning
- Isopropyl alcohol (99% pure) for contamination removal
- White cotton gloves to prevent fingerprint transfer
- Magnification lamp (3x-5x) for detailed inspection
- Cassette shell donors for parts harvesting
- Spring assortment for brake mechanism repair
- Polyester splicing tape (archival grade)

Spring Replacement Procedure
Brake spring replacement represents the highest-impact repair skill for VHS-C work. This procedure restores function to approximately 40% of non-playing cassettes encountered in typical digitization workflows.
Step-by-step spring replacement:
- Remove the five shell screws using JIS screwdrivers (Phillips drivers will strip the heads)
- Carefully separate the shell halves, noting the orientation of all internal components
- Photograph the brake assembly before disassembly for reference
- Remove the failed spring using needle-nose tweezers
- Clean the brake pad and contact surfaces with isopropyl alcohol
- Install replacement spring with identical tension characteristics
- Test brake operation before reassembling the shell
- Reassemble with all components in original positions
- Test in adapter to verify proper brake release
Professional VCR repair services maintain spring inventories sourced from donor cassettes, ensuring proper fit and tension for each repair.
Tape Path Cleaning and Realignment
Contaminated tape paths create playback problems even when the cassette mechanism functions correctly. Debris transferred from dirty adapters or camcorders accumulates on guide posts and creates tracking errors.
Clean all internal tape-contact surfaces using foam swabs moistened with 99% isopropyl alcohol. Pay particular attention to:
- Fixed guide posts at the tape door
- Spring-loaded guide assemblies
- Brake pad contact surface
- Hub surfaces where tape winds
After cleaning, verify guide post alignment by threading the tape manually through the cassette path. Guides should support the tape evenly without forcing it toward either edge. Misaligned guides cause edge damage during playback and must be corrected before digitization attempts.
When to Repair Versus Replace
Not every VHS-C cassette justifies repair investment. Decision frameworks help digitization professionals allocate repair effort effectively while meeting client expectations and preservation standards.
Cost-Benefit Analysis Framework
Repair economics depend on multiple factors including cassette availability, content value, and client budget. The following matrix guides repair-versus-transfer decisions:
| Scenario | Recommended Action | Justification |
|---|---|---|
| Mechanical failure, clean tape, common content | Repair | High success probability |
| Sticky-shed, unique content | Bake and transfer | Preservation priority |
| Broken tape, salvageable segments | Splice and partial transfer | Content recovery |
| Mold contamination, available backup | Do not repair | Contamination risk |
| Shell damage only, intact tape mechanism | Shell transfer | Quick, effective |
According to the National Archives video preservation guidance, attempting playback of severely degraded tapes risks further damage and should be approached with extreme caution or outsourced to specialized facilities.
Content Value Assessment
Irreplaceable content justifies aggressive repair approaches that would be uneconomical for replaceable material. Wedding recordings, family events, and unique historical documentation warrant investment in specialized techniques including:
- Tape baking for sticky-shed remediation (controlled low-temperature exposure)
- Splicing to bypass damaged sections while preserving recoverable content
- Forensic playback using professional decks with adjustable tension and tracking
- Frame-by-frame recovery for severely damaged segments
The IASA preservation guidelines provide authoritative technical standards for professional-grade recovery work, particularly valuable when handling archival collections or historically significant recordings.
Working with VHS-C Adapters
Adapter malfunction often masquerades as cassette failure during vhs c repair diagnosis. Understanding adapter mechanics prevents misdiagnosis and unnecessary cassette intervention.
Adapter Types and Compatibility
Two primary adapter designs exist: motorized and mechanical. Motorized adapters contain battery-powered mechanisms that automatically load the tape when the cassette is inserted. These adapters introduce additional failure points including:
- Battery corrosion and leakage
- Motor gear wear and binding
- Loading arm spring fatigue
- Electrical contact oxidation
Mechanical adapters rely solely on the VCR deck's loading mechanism, offering greater reliability but requiring compatible deck transport designs. Some professional digitization shops maintain both adapter types to accommodate different playback scenarios.
Adapter Maintenance and Testing
Regular adapter maintenance prevents damage to valuable cassettes during playback attempts. Establish monthly cleaning schedules for adapters in active service:
- Remove any cassette and extend the loading mechanism fully
- Clean all tape contact surfaces with isopropyl alcohol
- Verify smooth operation of loading arms and springs
- Check battery compartments for corrosion (motorized units)
- Test with a sacrificial cassette before using with client media
Professional operations benefit from maintaining dedicated test cassettes – known-good VHS-C units that verify adapter function before risking unique content.
Professional Equipment Considerations
Digitization facilities performing regular vhs c repair and transfer work require specialized playback equipment beyond consumer-grade solutions. Equipment selection dramatically impacts success rates and workflow efficiency.
Deck Selection for VHS-C Playback
While VHS-C cassettes play in standard VHS decks using adapters, professional S-VHS decks offer superior results for degraded tapes. S-VHS format equipment provides enhanced tracking circuits and playback stability beneficial for compromised cassettes.
Key deck features for VHS-C work include:
- Manual tracking control for recovering misaligned recordings
- Audio dub capability for isolated audio recovery attempts
- Variable tape speed to accommodate shrunk or stretched tape
- Time base correction for improved digital capture stability
- Front-loading mechanism for easy adapter access
Professional shops often maintain multiple deck models to accommodate different cassette conditions. VCR rental options provide cost-effective access to specialized equipment for facilities with fluctuating VHS-C volume.
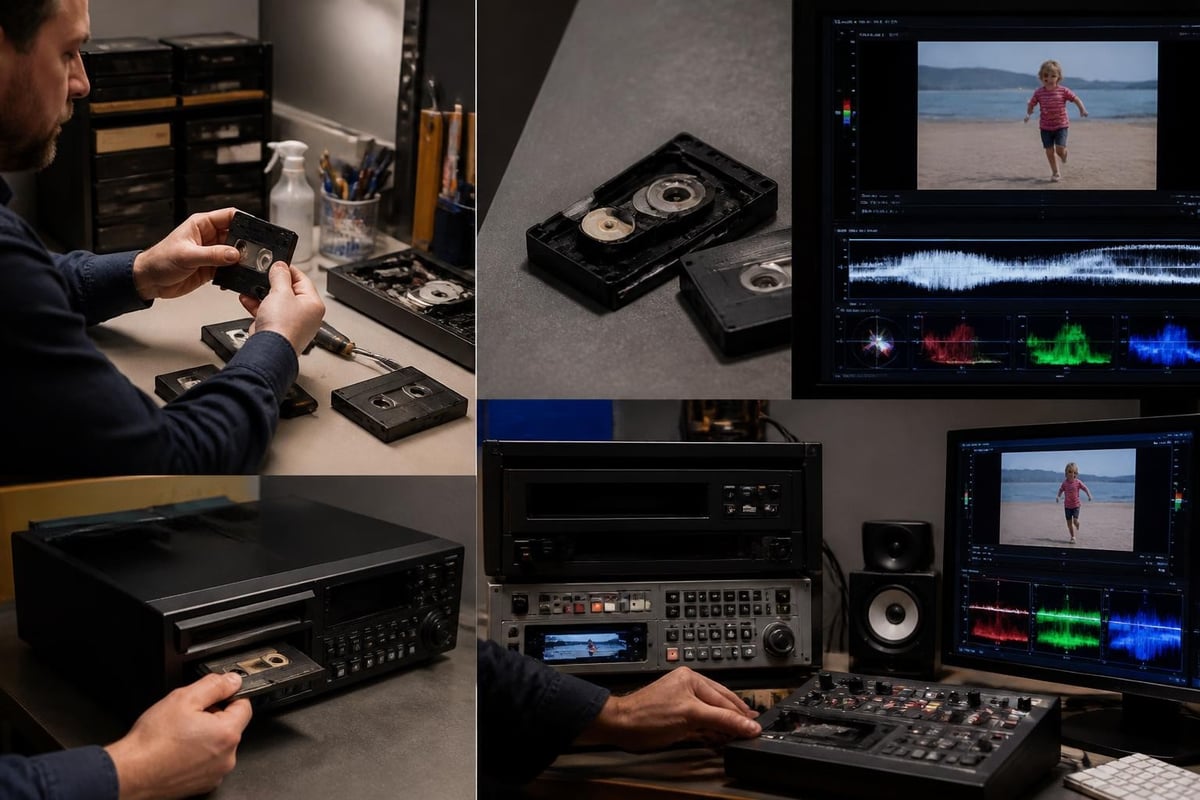
Capture and Monitoring Equipment
Successful digitization requires more than functional playback. Professional workflows incorporate:
- Time base correctors to stabilize degraded sync signals
- Waveform monitors to verify signal quality before capture
- Vectorscopes to assess color information integrity
- Frame-accurate capture cards for archival-quality digitization
The BAVC magnetic media landscape report documents current best practices among preservation facilities, offering valuable benchmarks for equipment investment decisions.
Preventive Maintenance for VHS-C Collections
Organizations managing VHS-C collections benefit from preventive maintenance programs that reduce emergency repair requirements and extend playback viability windows.
Storage Environment Optimization
Proper storage prevents many common failure modes before they develop. Optimal VHS-C storage conditions include:
- Temperature: 65-70°F (18-21°C), stable year-round
- Relative humidity: 30-40%, with minimal fluctuation
- Orientation: Stored on edge, never flat-stacked
- Light exposure: Complete darkness or UV-filtered indirect light only
- Magnetic fields: Minimum 3 feet from speakers, motors, transformers
Cassettes stored in controlled environments exhibit significantly lower failure rates than those subjected to temperature cycling or humidity extremes.
Rewind and Inspection Cycles
Archival standards recommend periodic rewinding to prevent tape pack settling and adhesion. For VHS-C collections, implement biennial rewind cycles:
- Acclimate cassettes to playback temperature for 24 hours
- Load into adapter and deck with gentle, slow rewind capability
- Fast-forward completely, then rewind to beginning
- Inspect tape edge through cassette window for degradation signs
- Document any changes since previous inspection
This practice redistributes stress across the tape pack and identifies developing problems before emergency digitization becomes necessary. Professional VCR maintenance contracts often include collection management services for facilities with large VHS-C holdings.
Specialized Repair Scenarios
Advanced vhs c repair situations require technique adaptation and sometimes acceptance of partial recovery rather than complete restoration.
Handling Broken Tape
Tape breaks occur at stress concentration points, typically near the hub attachment or at creases created by previous jams. Professional splicing salvages content on both sides of the break:
Splicing procedure:
- Extract the cassette tape assembly from the shell completely
- Cut away damaged sections using sharp scissors at 90-degree angles
- Butt the clean-cut ends together on a splicing block
- Apply archival-grade polyester splicing tape to the backing side only
- Trim excess splicing tape to match the original tape width precisely
- Reinstall the tape in the shell and test winding smoothness
Spliced tapes may exhibit brief dropouts at the splice point during playback but typically allow complete content recovery. Some facilities maintain donor cassettes specifically for sacrificing shells during this procedure.
Mold Remediation Considerations
Mold contamination represents the most serious VHS-C condition. Moldy cassettes require isolation and specialized handling to prevent spore spread to clean equipment and media. The decision to attempt remediation versus rejection depends on:
- Content irreplaceability and historical value
- Mold extent and species (visible vs. microscopic)
- Available remediation facilities and expertise
- Contamination risk to other collection materials
When remediation proceeds, work must occur in isolated facilities with HEPA filtration and negative air pressure. Cleaning involves gentle brushing followed by isopropyl alcohol treatment, but success rates vary widely based on growth extent and duration.
Quality Control and Testing
Repaired cassettes require systematic testing before delivery to clients or integration into digitization workflows. Comprehensive quality control prevents equipment damage and ensures successful capture.
Post-Repair Verification Protocol
Test every repaired cassette through its complete playback cycle before returning to service:
- Visual inspection: Verify all components properly reinstalled and functioning
- Adapter test: Confirm proper loading and unloading without binding
- Playback verification: Play minimum 5 minutes from beginning, middle, and end
- Audio monitoring: Check both audio channels for dropout or distortion
- Tracking stability: Verify consistent tracking without manual adjustment needs
- Unload test: Confirm cassette ejects cleanly from adapter without tape pull
Document test results for each cassette, creating repair history records valuable for tracking recurring issues or component failure patterns.
Success Metrics and Documentation
Professional digitization facilities track vhs c repair success rates to refine techniques and manage client expectations. Key metrics include:
- Percentage of cassettes restored to full playback functionality
- Average repair time per cassette type
- Common failure mode frequencies
- Correlation between storage history and success rates
- Cost per successful repair versus replacement costs
These metrics inform process improvements and help establish realistic timelines for client projects. Facilities handling VHS mini tapes and related formats benefit from comparative analysis across compact cassette types.
VHS-C repair demands specialized knowledge, proper equipment, and systematic technique application to successfully recover irreplaceable content from aging cassettes. Whether you're operating a digitization shop encountering occasional VHS-C repairs or managing large archival collections requiring regular maintenance, professional-grade playback equipment and expert technical support make the difference between successful recovery and permanent content loss. VCR Supply provides rental and repair services for professional videotape decks, offering digitization facilities access to the specialized equipment and technical expertise needed for challenging VHS-C projects starting at just $99 per month, backed by maintenance contracts and diagnostic services that keep your operation running smoothly.