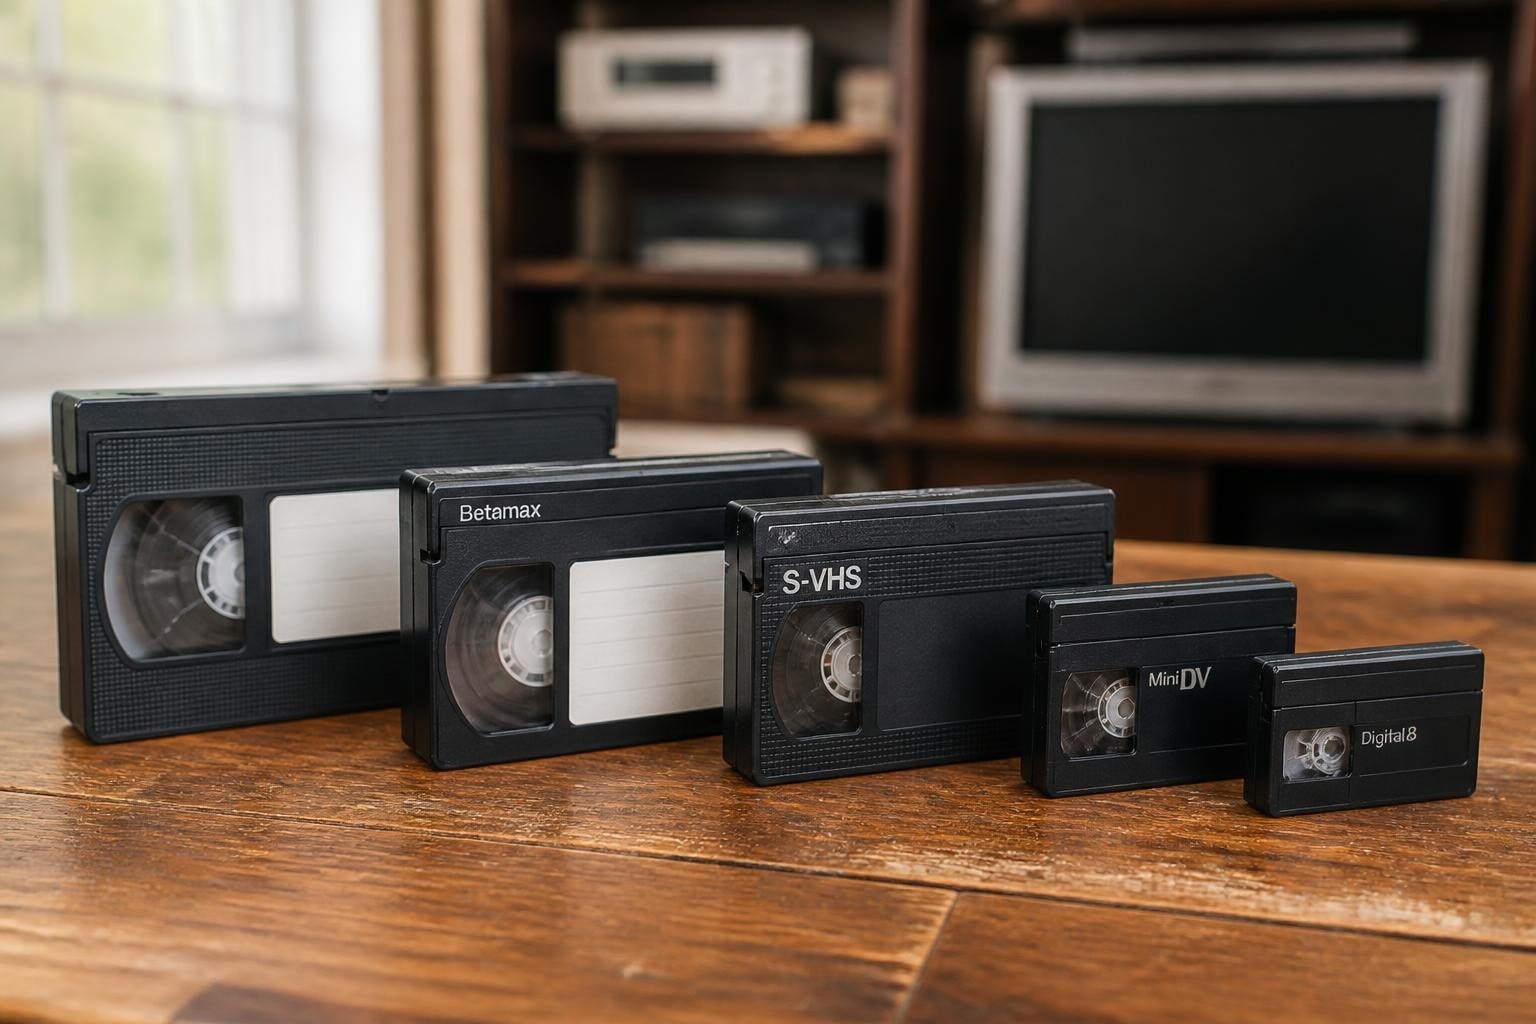
VHS Video Tape Repair: Professional Techniques & Tools
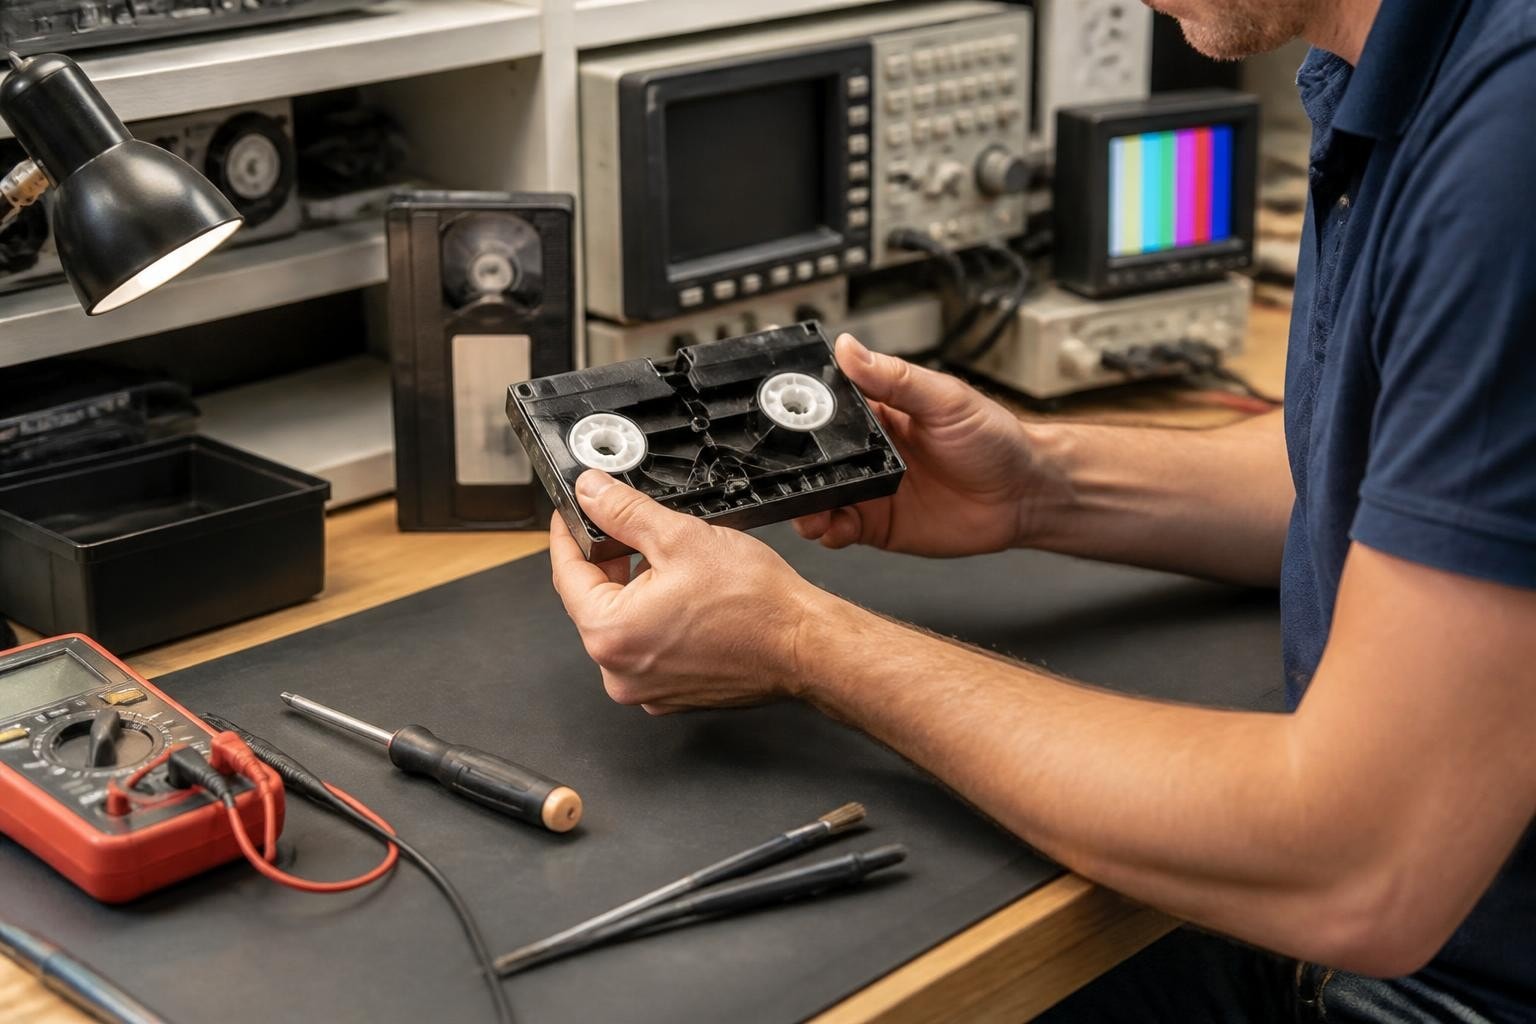
VHS tapes represent an irreplaceable archive of personal memories, corporate training materials, and cultural documentation created between the 1970s and early 2000s. As these magnetic media continue to age, digitization facilities and preservation professionals increasingly encounter damaged cassettes that require intervention before playback. Understanding the fundamentals of vhs video tape repair allows transfer specialists to recover content that would otherwise remain inaccessible, ensuring valuable recordings survive the migration to digital formats. This comprehensive guide addresses the diagnostic protocols, repair techniques, and professional equipment considerations that enable successful tape recovery operations.
Understanding VHS Tape Degradation and Failure Modes
VHS cassettes experience multiple forms of deterioration that affect both the magnetic tape and the protective shell housing. The polyester base film supporting the magnetic coating becomes brittle over time, particularly when stored in fluctuating temperature and humidity conditions. The binder that holds magnetic particles to the base film undergoes hydrolysis, creating a sticky residue known as sticky shed syndrome that transfers to playback heads and capstans.
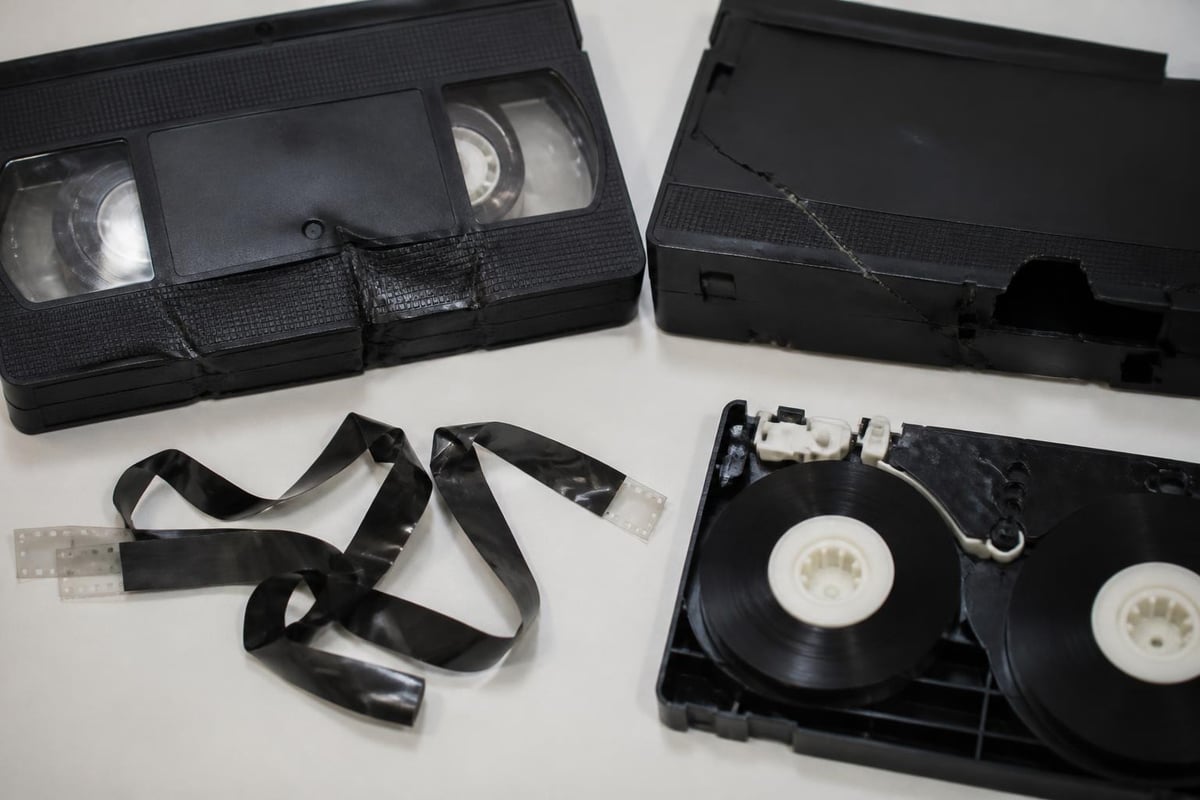
Physical damage modes include creased tape from improper winding tension, broken leader tape at the beginning or end of the cassette, and stretched sections from abrupt stops during playback. The cassette shell itself develops cracks at stress points near the hub locks, and the spring-loaded door mechanism frequently fails after decades of use.
Diagnostic Assessment Before Repair
Every vhs video tape repair begins with systematic assessment to identify all issues requiring correction. Visual inspection through the cassette window reveals tape pack condition, including uneven winding, visible creases, or white powder indicating advanced binder deterioration. Testing the hub rotation by gently turning the visible spool determines whether the tape moves freely or encounters resistance from tangles or debris.
The Canada Conservation Institute provides detailed guidance on systematic cassette inspection protocols that help identify issues before attempting playback. Shell integrity assessment includes examining all five screws securing the halves together, checking for cracks radiating from screw posts, and verifying proper door mechanism function.
Professional facilities maintain detailed intake documentation that records every observed defect, enabling technicians to prioritize repairs and track recurring issues across different tape stocks and manufacturers.
Shell Replacement and Transfer Procedures
Transferring tape from a damaged shell into a functioning donor cassette represents the most common vhs video tape repair intervention. This procedure requires a clean workspace, precision screwdrivers, and compatible replacement shells that match the original tape length and hub configuration.
Step-by-Step Shell Transfer Process
- Document the original configuration by photographing hub positions and noting any manufacturer-specific features before disassembly
- Remove the five screws securing the shell halves, working in a controlled environment to prevent dust contamination
- Carefully separate the halves while supporting both hubs to prevent the tape from unwinding or falling loose
- Inspect the tape pack condition for signs of mold, debris, or physical damage requiring additional intervention
- Transfer both hubs to the new shell, ensuring proper orientation and complete seating in the hub receptacles
- Verify tape path alignment by checking that the tape passes smoothly across all guide posts and rollers
- Reassemble the new shell with appropriate screw tension to secure without over-tightening
| Shell Transfer Consideration | Standard Approach | Professional Upgrade |
|---|---|---|
| Replacement shell quality | Generic aftermarket | OEM manufacturer shells |
| Hub lock mechanism | Basic spring clips | Upgraded metal springs |
| Anti-static treatment | None | Ionizing air treatment |
| Label transfer method | Adhesive repositioning | Archival documentation |
Professional digitization facilities that handle high volumes of tape repair often maintain inventory of manufacturer-specific shells that exactly match original specifications. This attention to detail prevents compatibility issues with tape thickness variations and hub diameter tolerances.
Tape Splicing Techniques and Materials
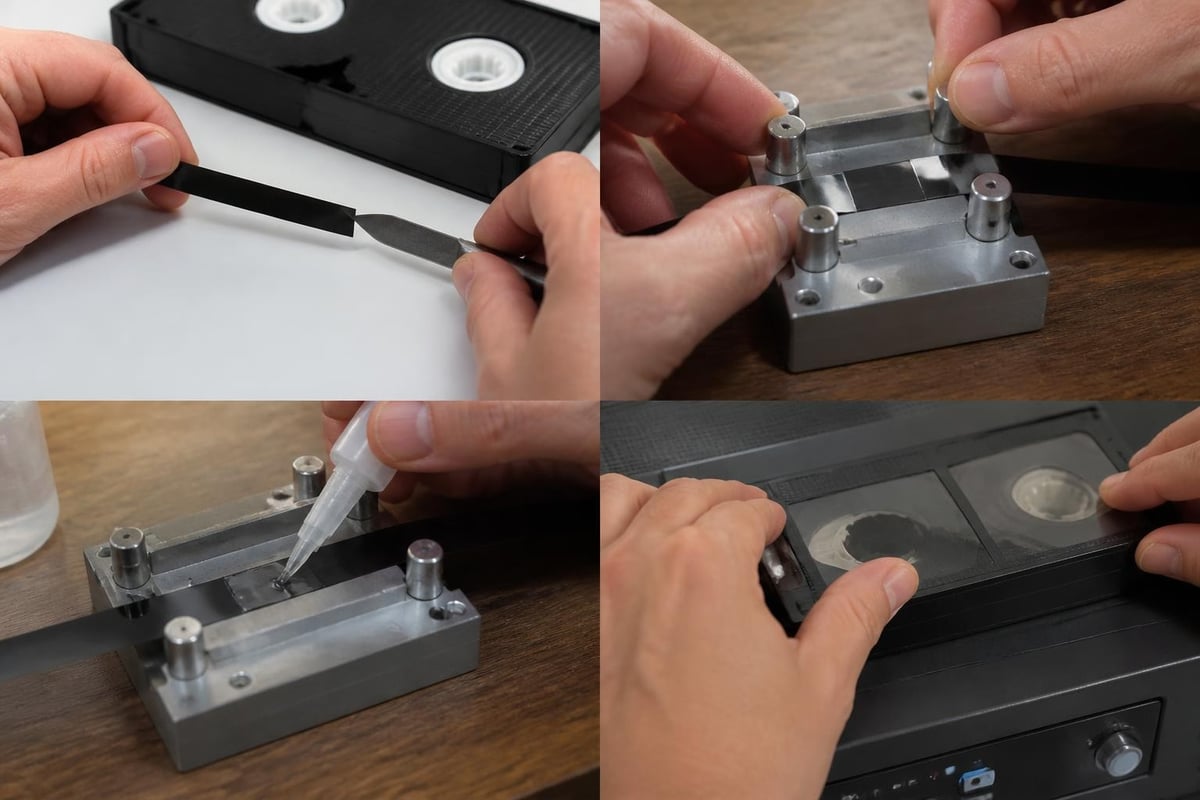
Physical breaks in VHS tape require precise splicing to restore continuity without compromising playback quality. Unlike audio tape splicing, videotape splicing demands exact alignment because even slight angular misalignment disrupts the helical scan pattern and creates tracking errors.
The proper splice uses specialized polyester splicing tape specifically designed for magnetic media applications. These adhesives maintain stable bonding characteristics across temperature ranges and avoid outgassing compounds that could contaminate tape surfaces or playback equipment.
Critical Splicing Parameters
- Splice angle: Straight butt joints rather than diagonal cuts for VHS format
- Adhesive width: Minimal overlap extending 1/16 inch beyond each tape edge
- Pressure application: Firm, even pressure for 30 seconds to ensure complete adhesion
- Cure time: Minimum 24-hour rest period before attempted playback
Professional vhs video tape repair facilities use dedicated splicing blocks that hold tape edges in perfect alignment during the joining process. Hand-held splices, while possible, introduce greater risk of angular misalignment that becomes apparent as video dropout or tracking disturbance during playback.
Cleaning Contaminated Tape Surfaces
Mold growth, smoke residue, and accumulated debris require careful cleaning before damaged tapes can safely undergo playback. Aggressive cleaning methods risk removing the magnetic coating entirely, while insufficient cleaning transfers contamination to valuable playback equipment.
The Video Preservation Guide offers detailed maintenance protocols that balance effective cleaning against preservation requirements. Dry cleaning methods using soft microfiber cloths represent the safest first approach for surface contamination, while wet cleaning with isopropyl alcohol solutions addresses more severe degradation.
Professional Cleaning Approaches
Pellon cleaning method: Threading contaminated tape through folded Pellon fabric under light tension removes surface debris without mechanical abrasion. This technique proves particularly effective for sticky shed syndrome when combined with controlled low-humidity baking to temporarily reverse binder hydrolysis.
Solvent-based cleaning: Isopropyl alcohol at 99% concentration applied to lint-free swabs addresses stubborn residues, but requires complete evaporation before rewinding to prevent further contamination. Professional facilities maintain dedicated cleaning stations with proper ventilation and contamination controls.
For tapes exhibiting severe mold growth, consultation with conservation specialists becomes essential. The Library of Congress digitization guidance emphasizes the importance of professional assessment when biological contamination threatens both tape content and equipment safety.
Leader Tape Replacement and Attachment
VHS cassettes incorporate leader tape sections at both the beginning and end of the magnetic tape to provide non-magnetic threading sections that protect content during loading operations. These leader sections, typically white or clear polyester, frequently break at the heat-welded joint connecting them to the magnetic tape.
Replacing broken leader sections requires matching the original leader material thickness and width specifications. Standard VHS leader tape measures exactly 1/2 inch wide and uses 1.5 mil thick polyester base film. The connection point between leader and magnetic tape must create a smooth transition to prevent snagging during the tape loading mechanism's operation.
Professional repair protocols specify:
- Pre-stretched leader tape to minimize elongation during use
- Heat-welded joints rather than adhesive splices when equipment permits
- Minimum 6-inch leader length to accommodate all VCR threading mechanisms
- Verification of smooth hub rotation through complete threading cycle
Many professional VCR repair services maintain specialized heat-welding equipment that creates stronger, more durable leader attachments compared to adhesive-based methods commonly used in field repairs.
Equipment Requirements for Professional Repair
Effective vhs video tape repair demands specialized tools and equipment beyond basic consumer-grade accessories. Professional digitization facilities require dedicated repair workstations that maintain cleanliness standards preventing further contamination during intervention procedures.
Essential Repair Equipment Inventory
| Equipment Category | Basic Setup | Professional Setup |
|---|---|---|
| Precision screwdrivers | Standard jeweler's set | Torque-limited drivers |
| Shell replacement stock | 10-pack generic shells | Manufacturer-specific inventory |
| Splicing supplies | Hand-cut tape method | Dedicated splicing block |
| Cleaning materials | Cotton swabs, isopropyl alcohol | Pellon fabric, controlled humidity chamber |
| Inspection tools | Flashlight, magnifier | Illuminated magnification station |
| Documentation system | Paper logbook | Digital tracking database |
Facilities handling high repair volumes often invest in tape-cleaning machines that automate the process of removing surface contamination while precisely controlling tape tension to prevent stretching. These machines prove cost-effective when daily repair volumes exceed ten cassettes.
Access to replacement parts becomes critical for facilities serving clients with urgent deadlines. Maintaining relationships with suppliers who stock professional videotape deck components ensures repair operations continue without delays waiting for specialty items.

Preventive Measures and Handling Protocols
Many vhs video tape repair situations arise from improper handling or storage rather than inevitable age-related degradation. Implementing proper protocols significantly reduces damage rates and extends the operational window for successful digitization.
The National Archives provides comprehensive guidance on storage conditions that minimize magnetic media deterioration. Maintaining constant temperature between 65-70°F and relative humidity between 30-40% dramatically slows chemical degradation processes affecting both tape binder and base film.
Operational Best Practices
Professional digitization facilities establish standard operating procedures addressing:
- Acclimatization periods: Allowing tapes to reach room temperature before playback prevents condensation formation on cold surfaces
- Gentle handling: Supporting cassettes by the shell body rather than gripping the hubs through window openings
- Inspection documentation: Recording observed defects before attempted playback to establish baseline conditions
- Limited rewind cycles: Minimizing unnecessary tape motion that accelerates wear on damaged sections
Facilities offering VCR rental services often include client training on proper tape handling protocols to reduce preventable damage during transfer operations. These educational components protect both valuable archive materials and rental equipment from avoidable stress.
When to Seek Professional Intervention
Certain vhs video tape repair situations exceed the capabilities of in-house operations and require specialized conservation expertise. Recognizing these threshold conditions prevents well-intentioned repair attempts from causing irreversible damage to unique recordings.
The NARA playback and digitization guidance outlines specific conditions warranting professional conservator intervention, including extensive mold growth requiring biological hazard protocols, severe binder degradation creating continuous shedding throughout playback, and physical damage affecting multiple tape layers simultaneously.
Threshold Conditions Requiring Specialist Services
- Visible mold growth covering more than 25% of tape surfaces
- Sticky shed syndrome unresponsive to low-humidity baking treatment
- Multiple break points requiring extensive splicing that exceeds 10% of total tape length
- Severe pack deformation preventing smooth unwinding even after shell transfer
- Vinegar syndrome odor indicating advanced acetate base decomposition
Professional VCR repair facilities maintain relationships with specialized conservation laboratories equipped to handle extreme degradation cases requiring controlled environment processing and advanced chemical treatments.
Quality Verification After Repair
Completed vhs video tape repair requires systematic verification to ensure interventions successfully restored playback capability without introducing new problems. Professional protocols mandate testing repaired cassettes through complete play cycles while monitoring for tracking errors, dropout patterns, and mechanical binding.
Verification procedures include:
- Visual inspection confirming smooth tape pack winding without edge damage
- Mechanical function testing through complete fast-forward and rewind cycles
- Playback assessment monitoring video quality across the entire tape length
- Documentation comparing pre-repair and post-repair condition assessments
Facilities maintaining professional maintenance contracts establish quality thresholds defining acceptable repair outcomes versus situations requiring additional intervention or client notification regarding content recovery limitations.
Integrating Repair Workflows with Digitization Operations
Efficient digitization facilities integrate vhs video tape repair seamlessly into production workflows rather than treating repairs as disruptive exceptions. Strategic scheduling allocates repair tasks during equipment downtime periods, and standardized documentation systems track repair status throughout the production pipeline.
The Federal Agencies Digital Guidelines Initiative provides workflow frameworks that incorporate condition assessment and necessary interventions as standard production steps rather than reactive responses to playback failures. This proactive approach reduces emergency repairs and improves overall throughput efficiency.
Facilities processing mixed format collections benefit from maintaining separate workflow tracks for standard playback-ready materials versus tapes requiring intervention. This segregation prevents repair bottlenecks from delaying straightforward transfers while ensuring damaged materials receive appropriate attention.
Advanced facilities implement tiered repair protocols matching intervention intensity to project requirements and budget constraints. Archive-grade repairs justify extensive conservation efforts, while access copy projects may accept minimal interventions that enable single-pass transfers.
Cost Considerations and Business Models
Professional vhs video tape repair services operate within economic constraints balancing labor costs against client willingness to pay for content recovery. Transparent pricing models help clients understand the relationship between tape condition severity and required intervention complexity.
| Repair Complexity | Typical Time Investment | Professional Service Range |
|---|---|---|
| Simple shell transfer | 15-30 minutes | $25-$45 per cassette |
| Leader replacement | 20-35 minutes | $35-$55 per cassette |
| Single splice repair | 25-40 minutes | $40-$65 per cassette |
| Cleaning and multiple repairs | 45-90 minutes | $75-$150 per cassette |
| Conservation-grade intervention | 2-4 hours | $200-$400 per cassette |
Many facilities implement diagnostic fee structures similar to the $45 assessment approach that covers initial evaluation time while providing clients with informed repair cost estimates before authorizing extensive interventions.
Bundling repair services with digitization packages creates value propositions encouraging clients to address tape condition issues proactively rather than risking playback equipment damage through attempted transfers of damaged materials.
Successful vhs video tape repair combines technical knowledge, proper equipment, and systematic procedures that balance content preservation against practical operational constraints. Understanding the degradation mechanisms affecting VHS cassettes enables digitization professionals to implement appropriate interventions that restore playback capability while protecting both irreplaceable content and valuable equipment from damage. Whether your facility handles occasional damaged tapes or processes high volumes requiring dedicated repair capabilities, VCR Supply offers professional equipment rental, repair services, and maintenance support that keeps your digitization operations running efficiently while minimizing costly downtime.