VHS Cassette Repair: Professional Guide for 2026
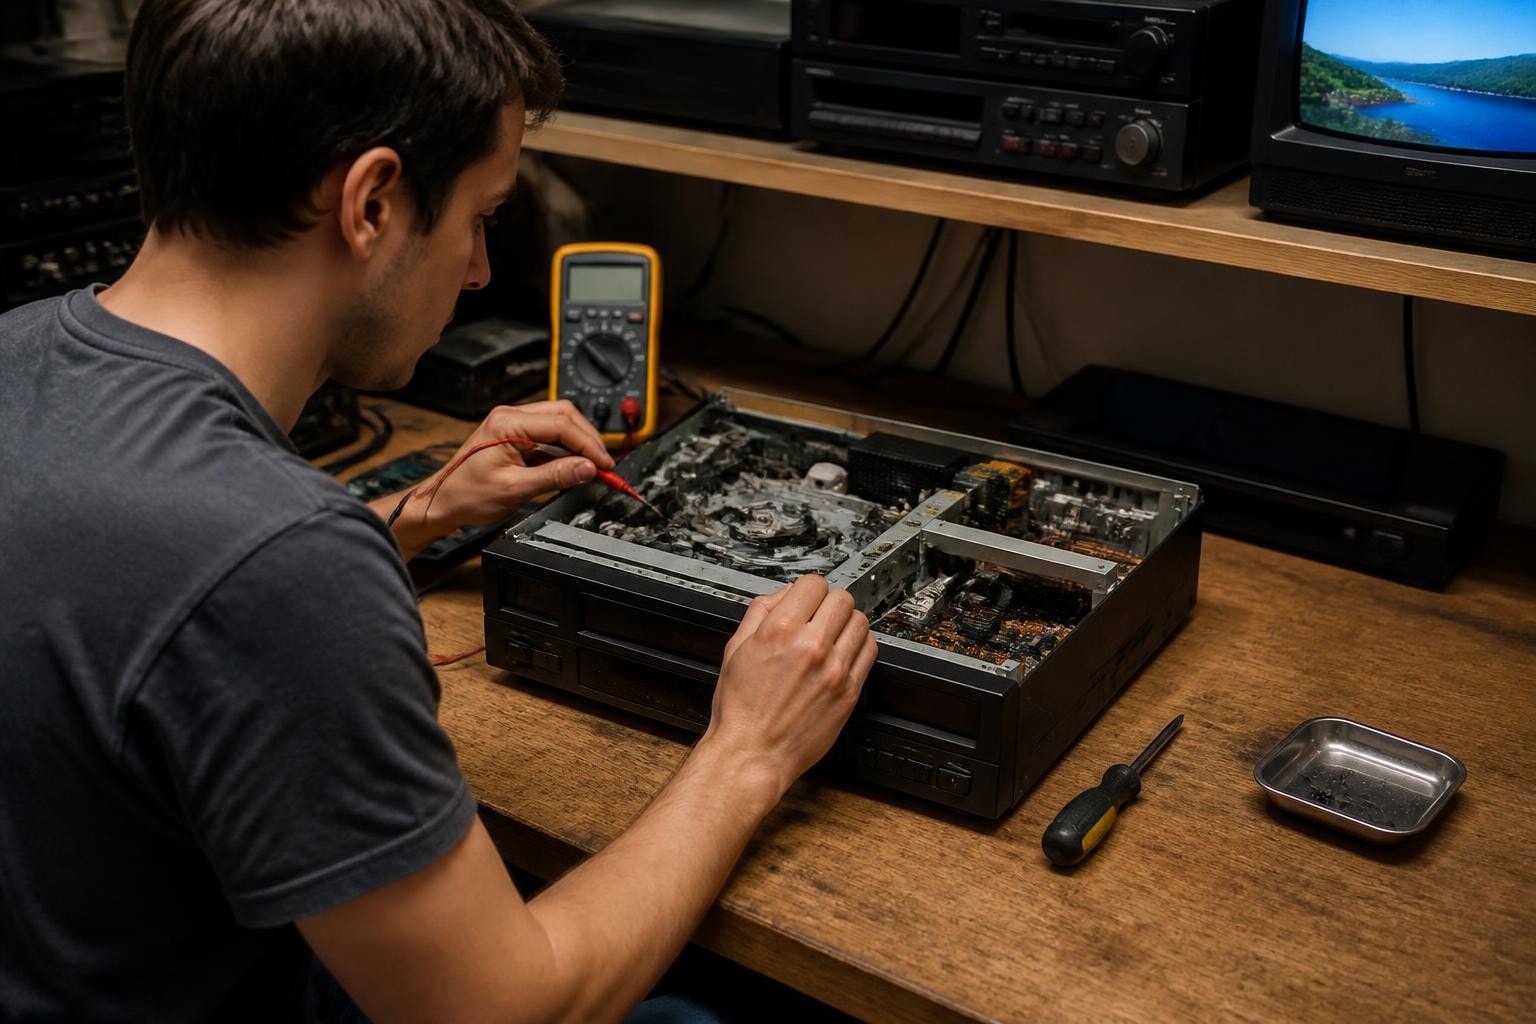
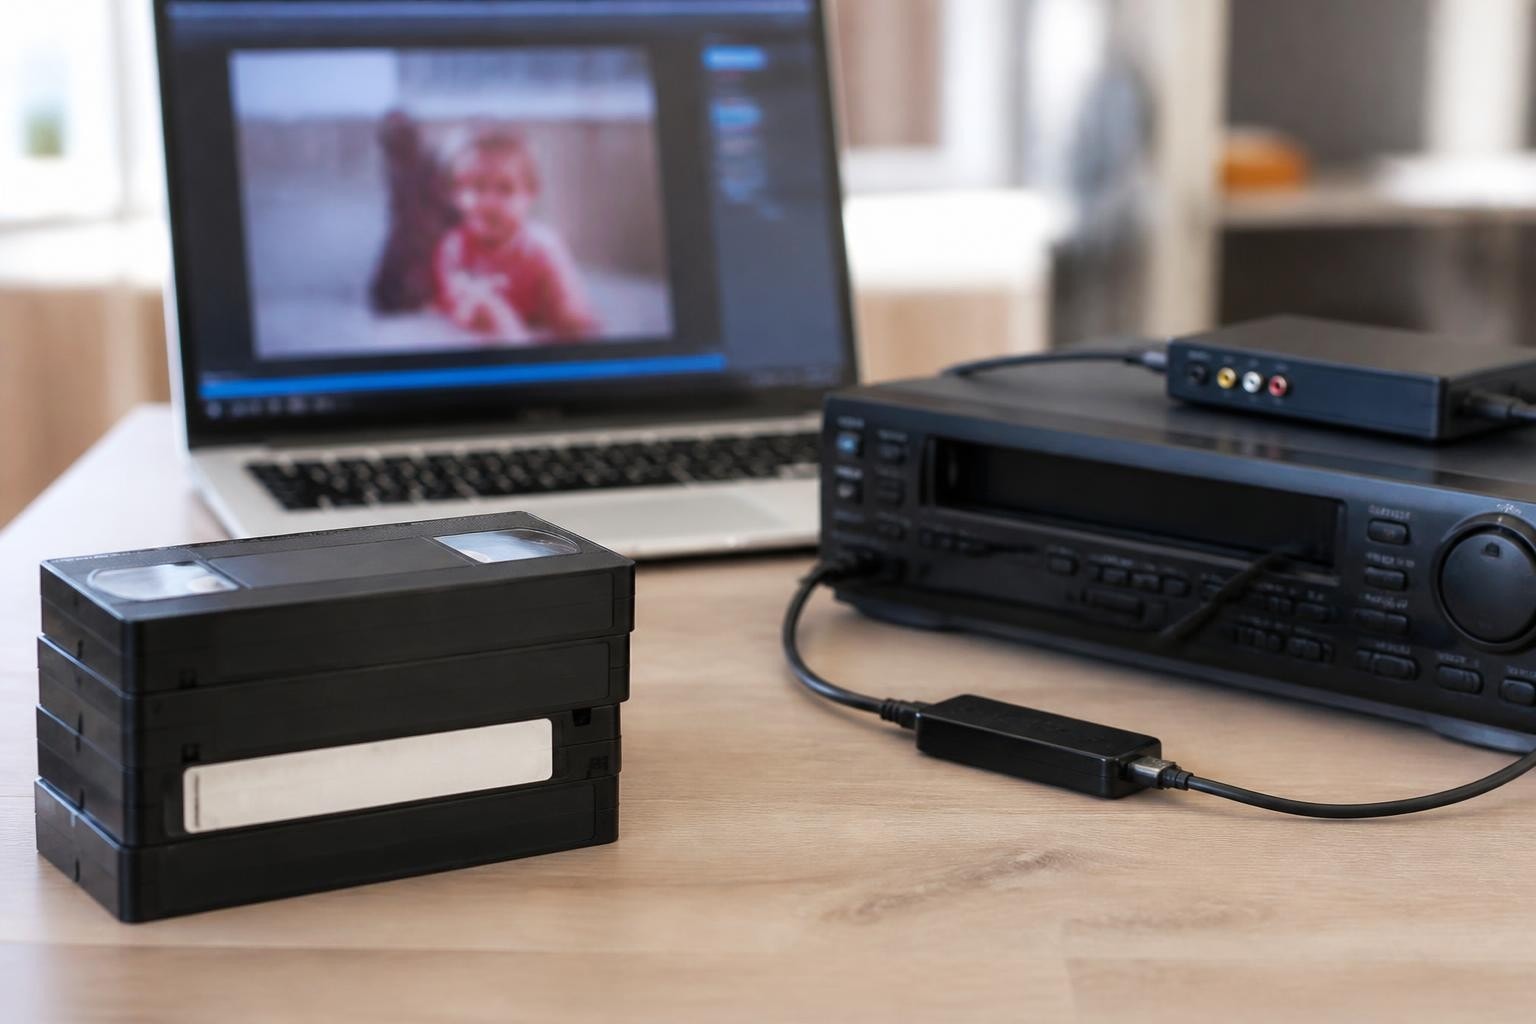
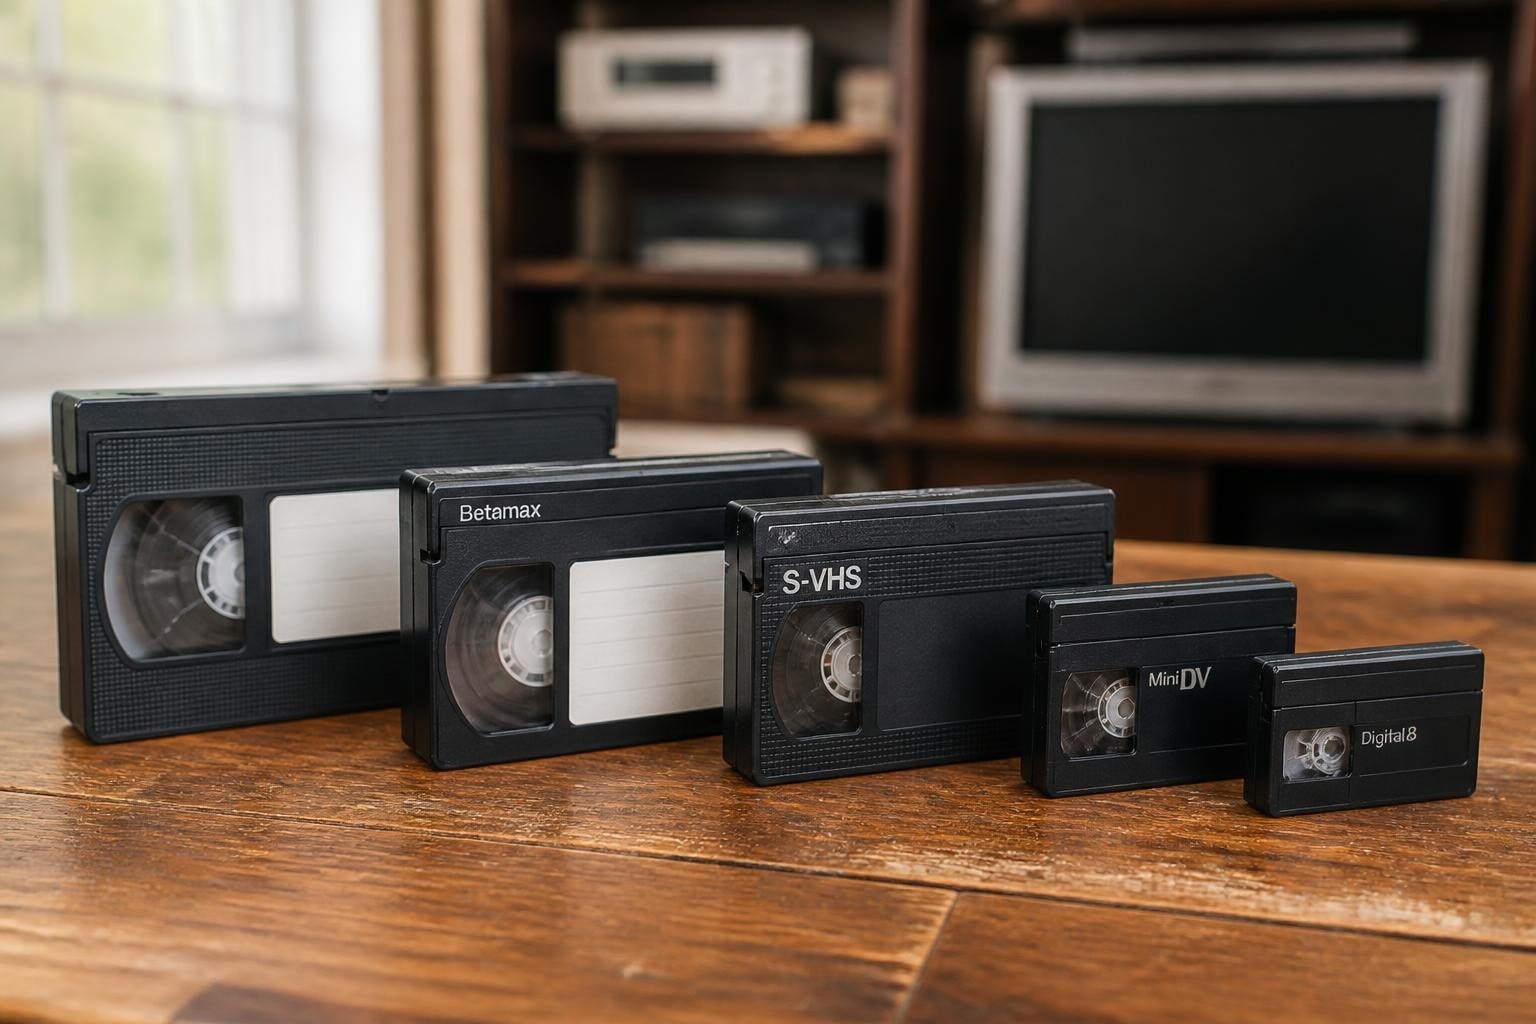
The analog videotape industry continues to serve a critical niche in 2026, with countless personal memories and archival content still locked on magnetic media. For digitization shops and preservation facilities, understanding vhs cassette repair is essential to maintaining operations and recovering irreplaceable content. Whether you're running a transfer service or managing an archival collection, the ability to diagnose and repair damaged cassettes directly impacts your workflow efficiency and client satisfaction. This comprehensive guide explores the technical aspects of cassette repair, from common mechanical failures to advanced restoration techniques used by professional facilities.
Understanding VHS Cassette Construction and Common Failure Points
VHS cassettes are precision mechanical assemblies containing nearly 250 meters of magnetic tape housed in a protective plastic shell. The cassette mechanism includes multiple moving parts: supply and take-up hubs, spring-loaded guides, a back-tension band, a safety tab, and several plastic components that guide tape through the player's heads.
Common failure modes include:
- Broken or cracked housing shells
- Damaged or jammed hub assemblies
- Tape binding caused by debris or humidity
- Worn pressure pads affecting tape-to-head contact
- Broken leader tape at splice points
The cassette shell protects the tape from contamination, but age-related plastic degradation often creates stress fractures. These cracks allow dust infiltration and can cause the shell halves to separate during playback. Understanding how these components work together helps digitization professionals identify whether a cassette requires simple cleaning, mechanical repair, or tape extraction and transfer to a new shell.
Diagnostic Assessment Before Beginning Repairs
Before attempting any vhs cassette repair work, a systematic visual and functional assessment prevents further damage to precious content. Start by examining the cassette exterior under good lighting, noting any cracks, warping, or damage to the window area where tape visibility is critical.
Check the hub movement by gently rotating the supply reel with a finger. Both hubs should turn smoothly without binding or excessive resistance. Listen for grinding sounds that indicate debris in the hub assembly or damaged reel tables. Inspect the tape edge through the cassette window for signs of edge damage, creasing, or sticky-shed syndrome.

Professional facilities often use a dedicated VCR maintenance protocol that includes test playback on expendable equipment before risking valuable decks. This approach identifies tapes with severe binder deterioration or physical damage that could contaminate heads or damage capstan assemblies.
Mechanical Shell Repairs and Component Replacement
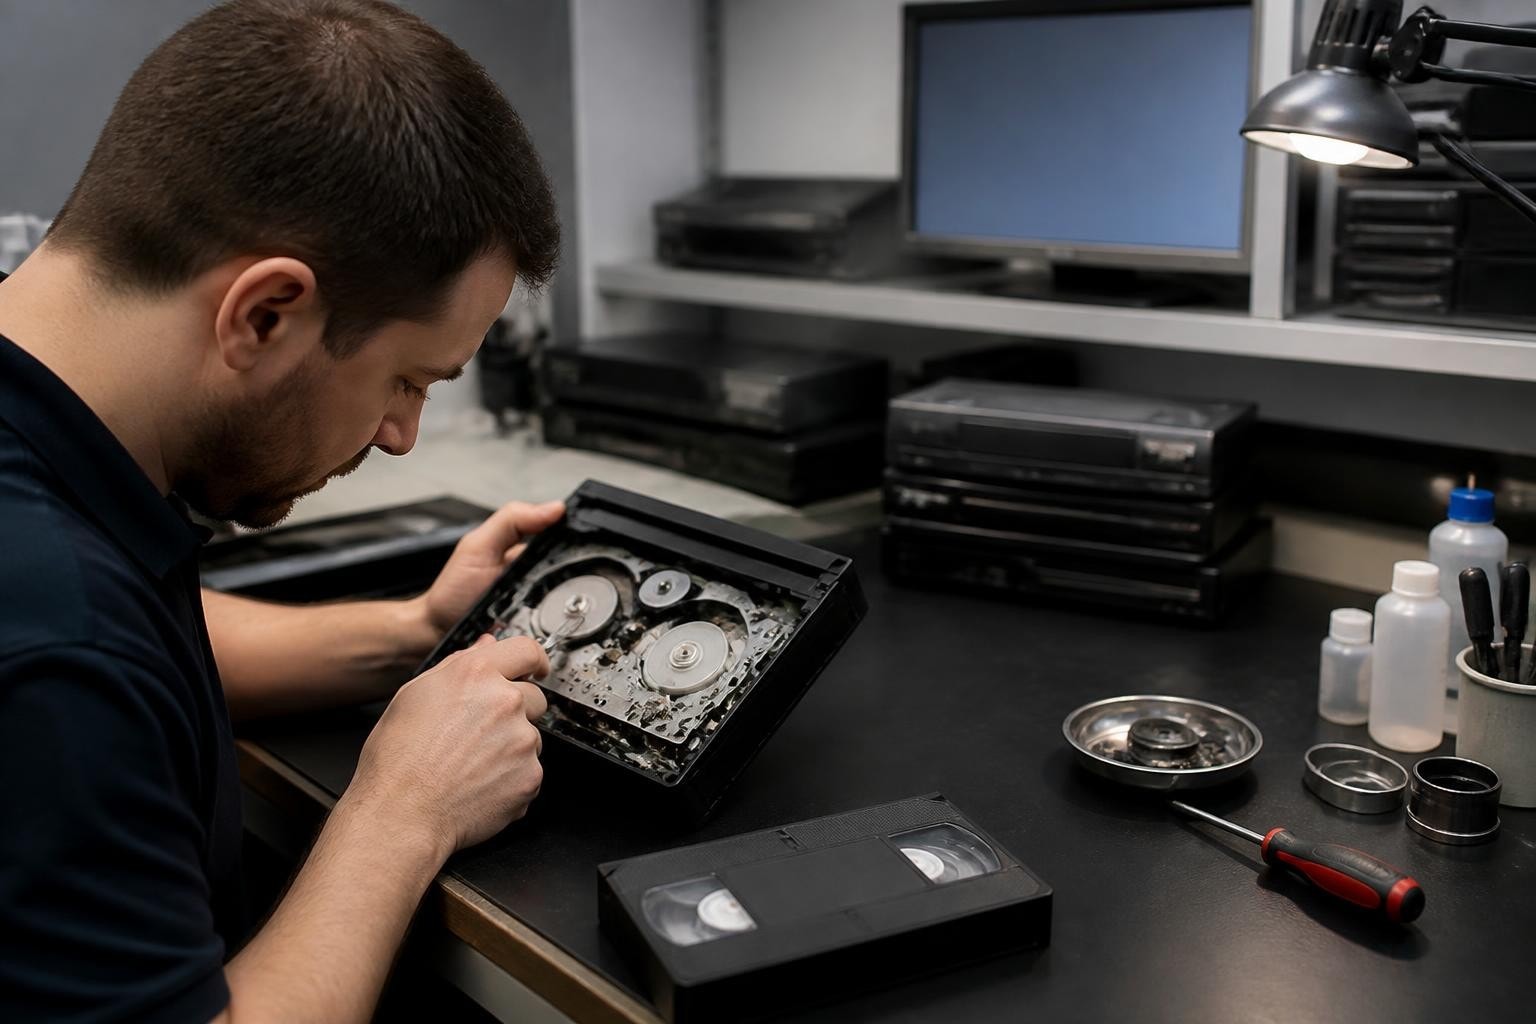
Shell damage represents one of the most common issues requiring vhs cassette repair intervention. Cracked shells can be temporarily stabilized using plastic-compatible adhesives, but shell replacement provides the most reliable long-term solution. This process requires careful disassembly of the damaged cassette and transfer of all internal components to a donor shell.
| Repair Type | Difficulty | Time Required | Success Rate |
|---|---|---|---|
| Shell crack repair | Low | 10-15 min | 85% |
| Complete shell swap | Moderate | 20-30 min | 95% |
| Hub replacement | Moderate | 15-25 min | 90% |
| Pressure pad replacement | Low | 5-10 min | 98% |
Shell replacement procedure:
- Remove the five Phillips screws from the cassette back
- Carefully separate shell halves, noting spring and guide positions
- Photograph component placement for reference
- Transfer reels to new shell, maintaining tape path orientation
- Install springs, guides, and pressure pad assembly
- Verify smooth hub rotation before closing
- Reassemble with proper screw torque to avoid over-tightening
The Library of Congress provides comprehensive care guidelines for magnetic media that emphasize gentle handling during these procedures. Working in a clean environment minimizes dust contamination during the shell-open period, which is especially critical for tapes destined for archival digitization.
Pressure Pad and Guide Roller Maintenance
The pressure pad assembly maintains proper tape-to-head contact during playback, making it critical for signal quality. These felt pads deteriorate with age, losing their spring tension and becoming contaminated with oxide shedding. Replacing worn pressure pads dramatically improves playback quality on otherwise functional cassettes.
Aftermarket pressure pad assemblies are readily available and include the mounting plate, spring, and felt pad as a complete unit. Installation requires careful positioning to ensure proper tape contact without excessive pressure that could increase wow and flutter. Guide rollers should spin freely without binding, and any resistance indicates bearing failure or debris accumulation requiring replacement.
Tape Path Issues and Binding Problems
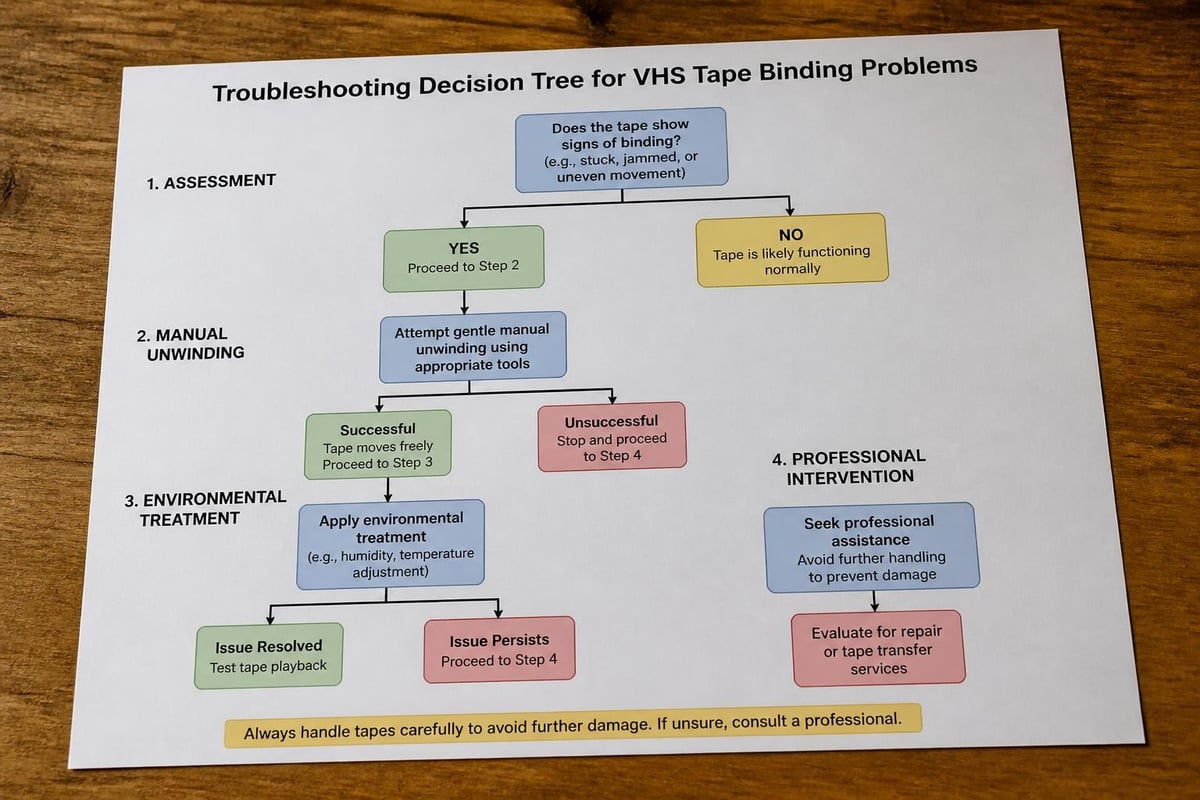
Tape binding inside the cassette shell represents a challenging vhs cassette repair scenario that requires patience and proper technique. Binding typically occurs when tape sticks to itself due to binder hydrolysis (sticky-shed syndrome), physical deformation from improper storage, or contamination from foreign materials.
Step-by-step binding resolution:
- Initial assessment - Determine if binding is localized or affects the entire tape pack
- Gentle tension application - Manually advance the supply reel in small increments
- Environmental conditioning - Allow tape to acclimate to proper temperature and humidity
- Careful unwinding - Use a rewinder or hand-crank to separate stuck layers
- Cleaning pass - Run tape through cleaning rollers if contamination is present
- Shell verification - Ensure smooth travel through the cassette tape path
For tapes exhibiting severe sticky-shed syndrome, the IASA technical guidelines recommend specialized treatment including controlled baking to temporarily restore binder cohesion. This advanced technique requires precise temperature and humidity control and is typically performed by specialized facilities rather than during routine vhs cassette repair operations.
The British Film Institute's comprehensive videotape preservation overview discusses how environmental factors accelerate tape degradation, making binding problems increasingly common in aging collections. Digitization facilities must balance the urgency of content rescue against the risk of causing additional damage during repair attempts.
Leader Tape Splicing and Structural Repairs
The leader tape connects the magnetic recording tape to the cassette hubs and often fails at splice points due to adhesive degradation. When leader tape breaks, the magnetic tape becomes completely detached from one or both hubs, preventing playback. Proper splicing technique during vhs cassette repair restores functionality while minimizing content loss.
Professional splicing requires specific materials and tools:
- Splicing tape - 1/4-inch or 7.5mm pressure-sensitive tape designed for magnetic media
- Splicing block - Guides for precise 45-degree or 90-degree cuts
- Single-edge razor blade - For clean, straight cuts
- Leader tape stock - Replacement leader material when original is damaged
Executing Clean, Reliable Splices
Cut both tape ends cleanly at a 45-degree angle using the splicing block to create an overlapping joint that minimizes playback disturbance. Apply splicing tape to the oxide side (not the back side) to avoid head contact with adhesive. Burnish the splice thoroughly to ensure secure adhesion without creating a bump that could catch on guides.
When repairing near the beginning or end of the tape, consider whether any recordable content might be lost during the splice. Archive the first few seconds of questionable tapes separately if possible. For VHS format tapes used in commercial duplication, leader splices typically occur in the non-recorded clear leader section.
Professional Equipment Considerations for Repair Workflows
Digitization facilities performing regular vhs cassette repair benefit from establishing a dedicated repair workstation equipped with proper tools and reference materials. This investment reduces repair time and improves consistency across multiple operators.
Essential repair station equipment:
- Clean, well-lit workspace with ESD-safe mat
- Precision screwdriver set with magnetic tips
- Cassette shell inventory (various manufacturers for best fit)
- Spare parts kit (pressure pads, hubs, screws, springs)
- Digital calipers for measuring tape pack issues
- USB microscope for inspecting tape edge damage
- Isopropyl alcohol and lint-free wipes for cleaning
- Splicing supplies and leader tape stock
Facilities handling high volumes often maintain rental equipment from specialized suppliers to ensure access to properly maintained playback decks. This approach separates the repair and digitization workflows, preventing contamination of primary transfer equipment with oxide shedding from damaged cassettes.
Knowing When Professional Intervention Is Required
Not all vhs cassette repair scenarios are appropriate for in-house resolution. Severely damaged tapes, those with significant historical or commercial value, and cassettes exhibiting advanced degradation symptoms often require specialized equipment and expertise available only at dedicated recovery facilities.
| Symptom | In-House Repair | Professional Service |
|---|---|---|
| Cracked shell | ✓ Suitable | Optional |
| Broken leader | ✓ Suitable | Optional |
| Sticky-shed syndrome | Risky | ✓ Recommended |
| Severe edge damage | Risky | ✓ Recommended |
| Mold contamination | ✗ Not advised | ✓ Required |
| Vinegar syndrome | ✗ Not advised | ✓ Required |
The RepairFAQ VCR troubleshooting guide provides extensive technical detail on deck-level repairs, but emphasizes that tape-level problems often require different expertise than equipment maintenance. Professional VCR repair services typically include diagnostic capabilities that can assess both the tape and the equipment to identify root causes.
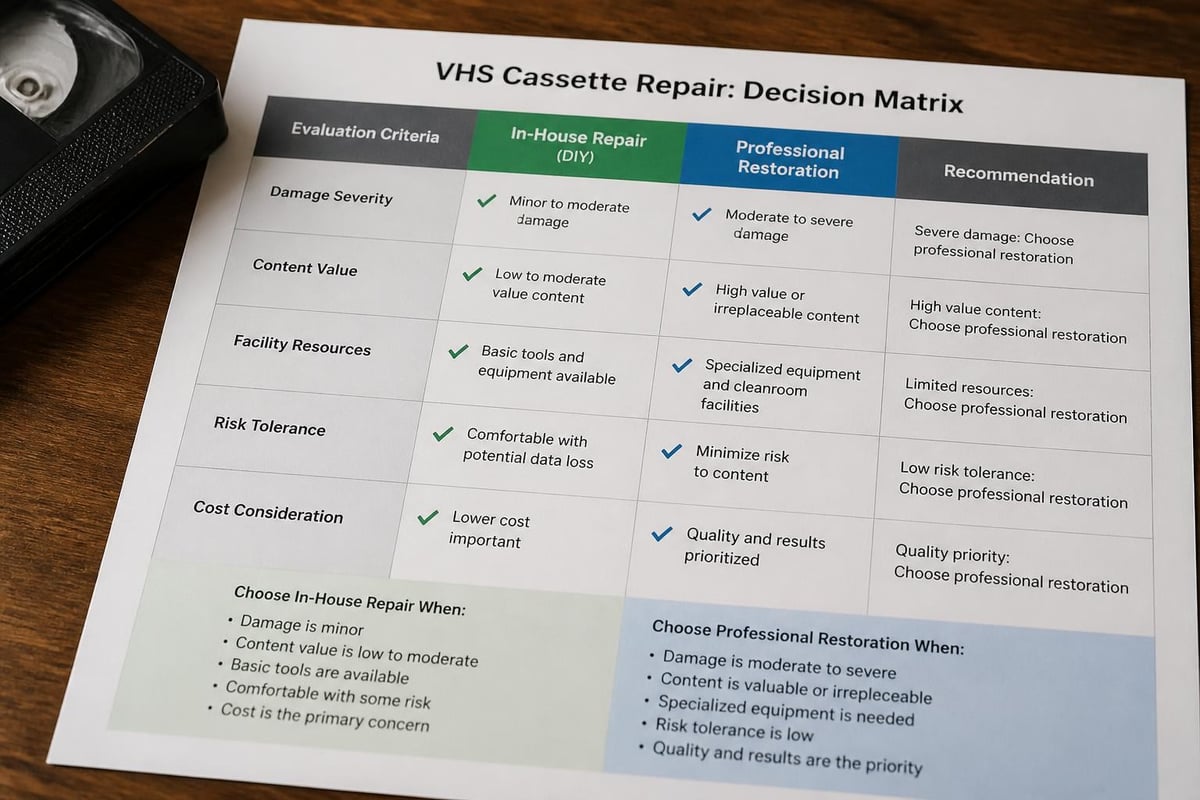
For tapes showing signs of advanced binder deterioration, attempting playback without proper treatment risks permanent head clogging and potential loss of the tape's oxide layer. The National Archives' machine-readable holdings guidance recommends establishing clear protocols for when to halt digitization attempts and seek specialized conservation assistance.
Preventive Measures and Long-Term Collection Management
The most effective vhs cassette repair strategy is preventing damage before it occurs. Digitization facilities managing large tape collections should implement environmental controls, proper storage practices, and handling protocols that minimize the need for reactive repairs.
Collection management best practices:
- Maintain storage areas at 65-70°F with 30-40% relative humidity
- Store cassettes vertically in archive-quality containers
- Keep tapes away from magnetic fields and heat sources
- Implement first-in-first-out digitization for oldest materials
- Document all repairs and treatments for future reference
- Regular equipment maintenance to prevent tape damage during playback
The Preservation Self-Assessment Program's videotape identification guide helps facilities prioritize which materials face the greatest risk and should be digitized first. This risk-based approach ensures that resources focus on the most vulnerable content before physical degradation makes repair impossible.
Understanding when cassettes require attention before insertion into valuable playback equipment protects both the tape and the deck. Many facilities implement a visual inspection step where every cassette undergoes basic assessment before being approved for the digitization workflow. This pre-screening identifies obvious mechanical problems that could damage professional equipment.
Training and Skill Development for Repair Technicians
Effective vhs cassette repair requires hands-on experience combined with theoretical understanding of magnetic media technology. Digitization facilities should invest in training programs that build both mechanical skills and decision-making capabilities for handling challenging cases.
New technicians benefit from practicing on expendable tapes before working with client materials. Creating a collection of damaged cassettes specifically for training purposes allows skill development without risking valuable content. Document successful repair procedures with photographs and written protocols to establish institutional knowledge.
Progressive skill-building curriculum:
- Foundation skills - Basic disassembly, cleaning, visual inspection
- Intermediate techniques - Shell replacement, pressure pad installation, simple splices
- Advanced procedures - Binding resolution, complex splices, hub replacement
- Expert judgment - Damage assessment, risk evaluation, professional referral decisions
Experienced facilities often develop internal certification programs ensuring consistent quality across multiple repair technicians. This standardization becomes especially important for shops managing both equipment rental and repair services, where maintaining professional standards protects the business reputation.
Documentation and Quality Control Systems
Implementing systematic documentation for vhs cassette repair work creates accountability and provides valuable data for improving processes over time. Each repair should be logged with details about the original problem, repair actions taken, parts used, and time required.
This documentation serves multiple purposes: tracking consumable inventory, identifying recurring problems that might indicate equipment issues, supporting client communication about treatment decisions, and building a knowledge base for training purposes. Digital photography before and after repairs provides visual evidence of work performed and can be essential when disputes arise about tape condition.
Quality control procedures should include post-repair testing on dedicated playback equipment. Never assume a mechanical repair has succeeded without verifying smooth tape travel and acceptable playback quality. This verification step prevents returning non-functional cassettes to clients and identifies repairs that require additional attention.
Cost-Benefit Analysis for In-House Versus Outsourced Repair
Digitization facilities must evaluate whether maintaining in-house vhs cassette repair capabilities makes economic sense based on their volume and client mix. Small operations with occasional problematic tapes may find outsourcing more cost-effective than maintaining spare parts inventory and trained staff.
Calculate the true cost of in-house repair by including:
- Labor time - Technician wages during repair work
- Materials - Replacement shells, pressure pads, splicing supplies
- Equipment - Tools, workspace, maintenance of repair station
- Training - Initial and ongoing skill development
- Opportunity cost - Productive digitization time lost to repair work
Compare these costs against professional repair service fees and turnaround times. Factor in the strategic value of immediate problem resolution versus shipping delays. For facilities offering professional VCR repair services, maintaining in-house cassette repair capabilities enhances the service portfolio and creates additional revenue streams.
Many successful operations use a hybrid approach: performing basic mechanical repairs in-house while outsourcing complex cases requiring specialized equipment or environmental treatment. This strategy balances efficiency with risk management, ensuring valuable content receives appropriate care.
Mastering vhs cassette repair techniques enables digitization facilities to handle a wider range of client materials while protecting valuable playback equipment from damaged tapes. The skills and protocols outlined here provide a foundation for building reliable repair capabilities that support efficient workflow and quality outcomes. Whether you're managing a small transfer service or a large archival digitization operation, VCR Supply offers professional-grade equipment rental starting at $99 per month, expert repair services with $45 diagnostics, and maintenance contracts designed to minimize downtime and keep your facility running smoothly through 2026 and beyond.