Repair VHS C Tape: Professional Guide for 2026
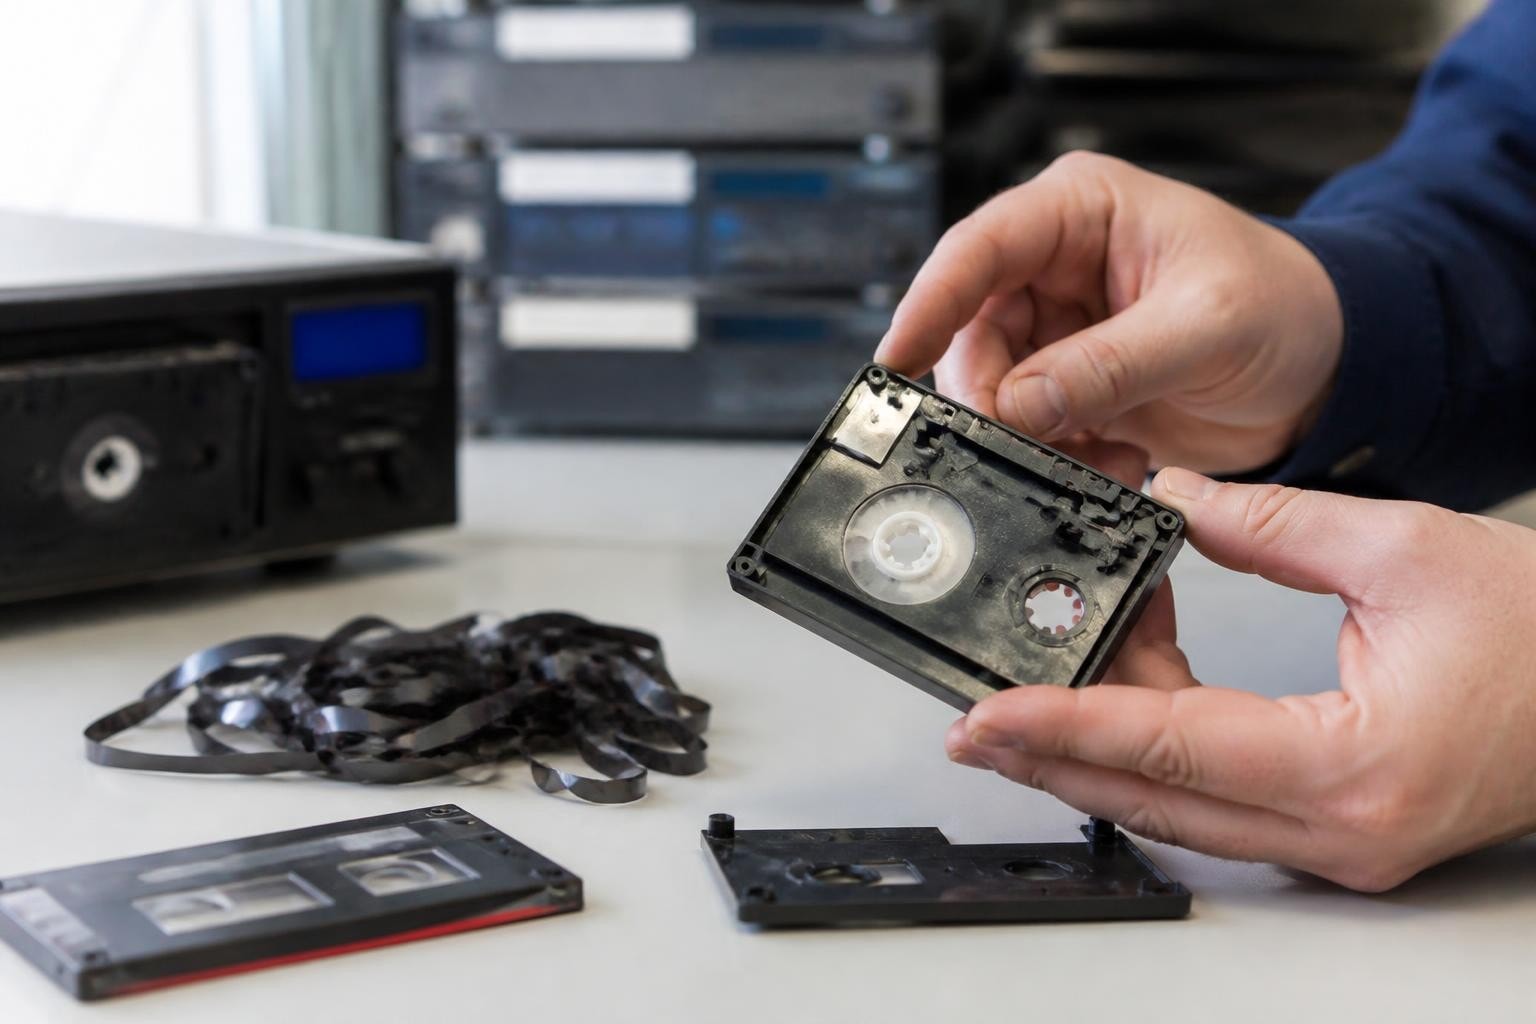
VHS-C tapes remain a critical format for digitization professionals despite being discontinued for over two decades. These compact cassettes, originally designed for camcorders in the 1980s and 1990s, contain irreplaceable family memories, business archives, and historical footage that clients depend on you to preserve. When a VHS-C tape arrives damaged-whether from storage deterioration, previous playback attempts, or physical trauma-your ability to repair VHS C tape properly determines whether that content survives or is lost forever. This comprehensive guide covers the essential techniques, tools, and troubleshooting methods digitization shops need to restore VHS-C tapes to playable condition in 2026.
Understanding VHS-C Tape Construction and Common Failures
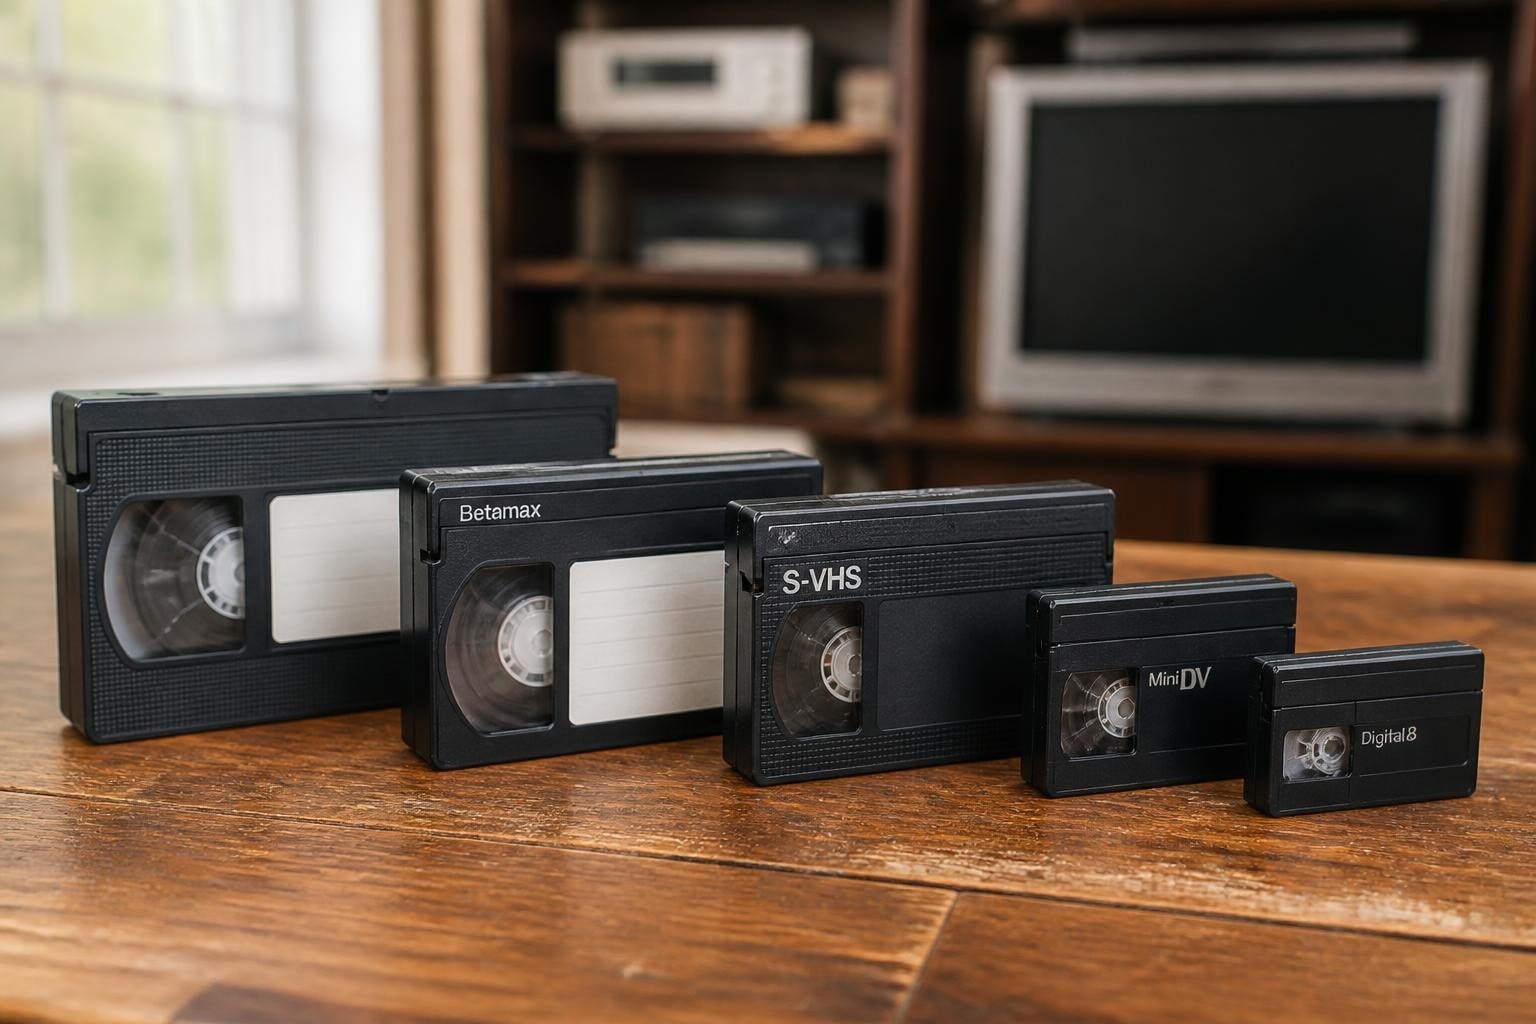
VHS-C cassettes use the same magnetic tape formulation as full-size VHS but in a dramatically smaller shell measuring just 92mm × 59mm × 23mm. The compact design introduces unique mechanical vulnerabilities that don't affect standard cassettes.
The tape path inside a VHS-C cartridge includes two reels, tape guides, and a spring-loaded pressure pad assembly. When you insert the cassette into a VHS-C adapter or compatible deck, mechanical arms lift the tape and thread it around the video head drum. Any misalignment, broken component, or tape damage disrupts this delicate process, resulting in playback failures.
Primary Failure Modes
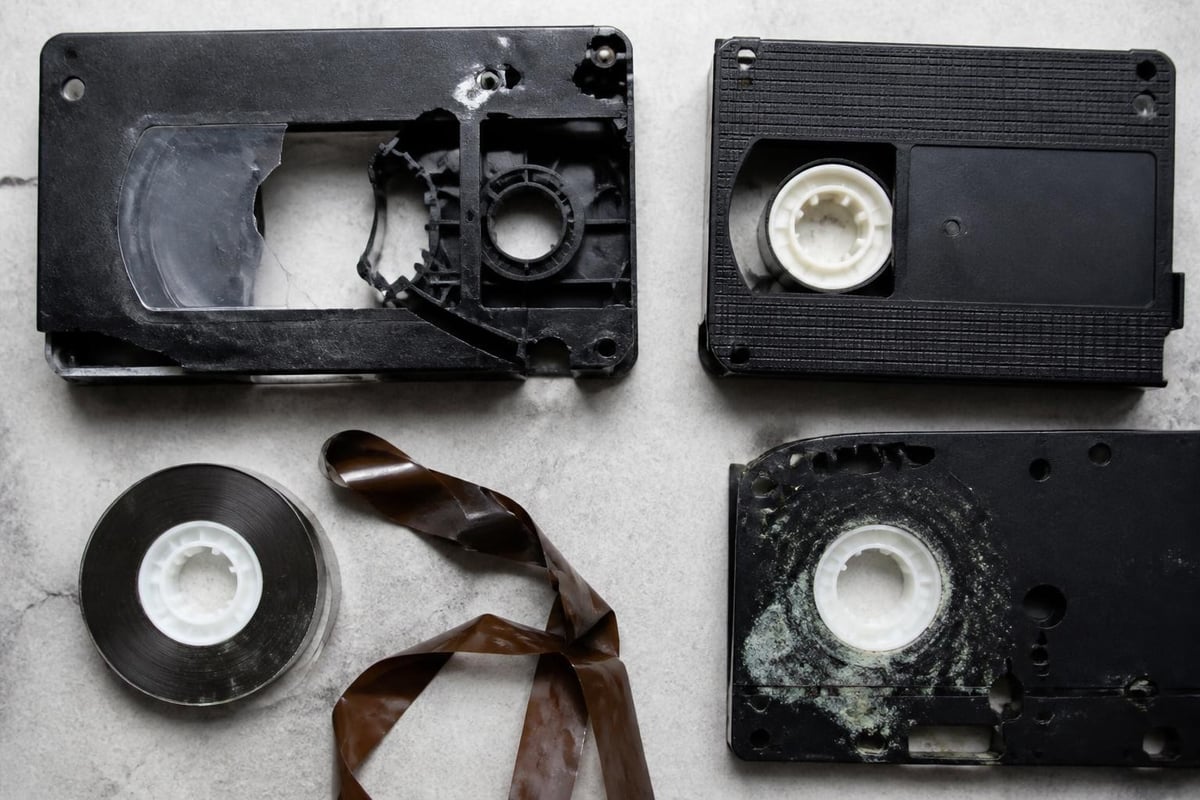
Physical damage to VHS-C tapes typically falls into several categories:
- Broken shell halves from drops or impact
- Cracked or missing hub locks preventing proper reel engagement
- Tape edge damage from improper winding or storage
- Wrinkled or creased tape from humidity exposure or deck malfunctions
- Mold growth on the magnetic coating
- Snapped tape from brittle oxide layer deterioration
Each failure mode requires specific repair approaches, and some damage is beyond economical repair for most digitization workflows.
Essential Tools and Workspace Setup
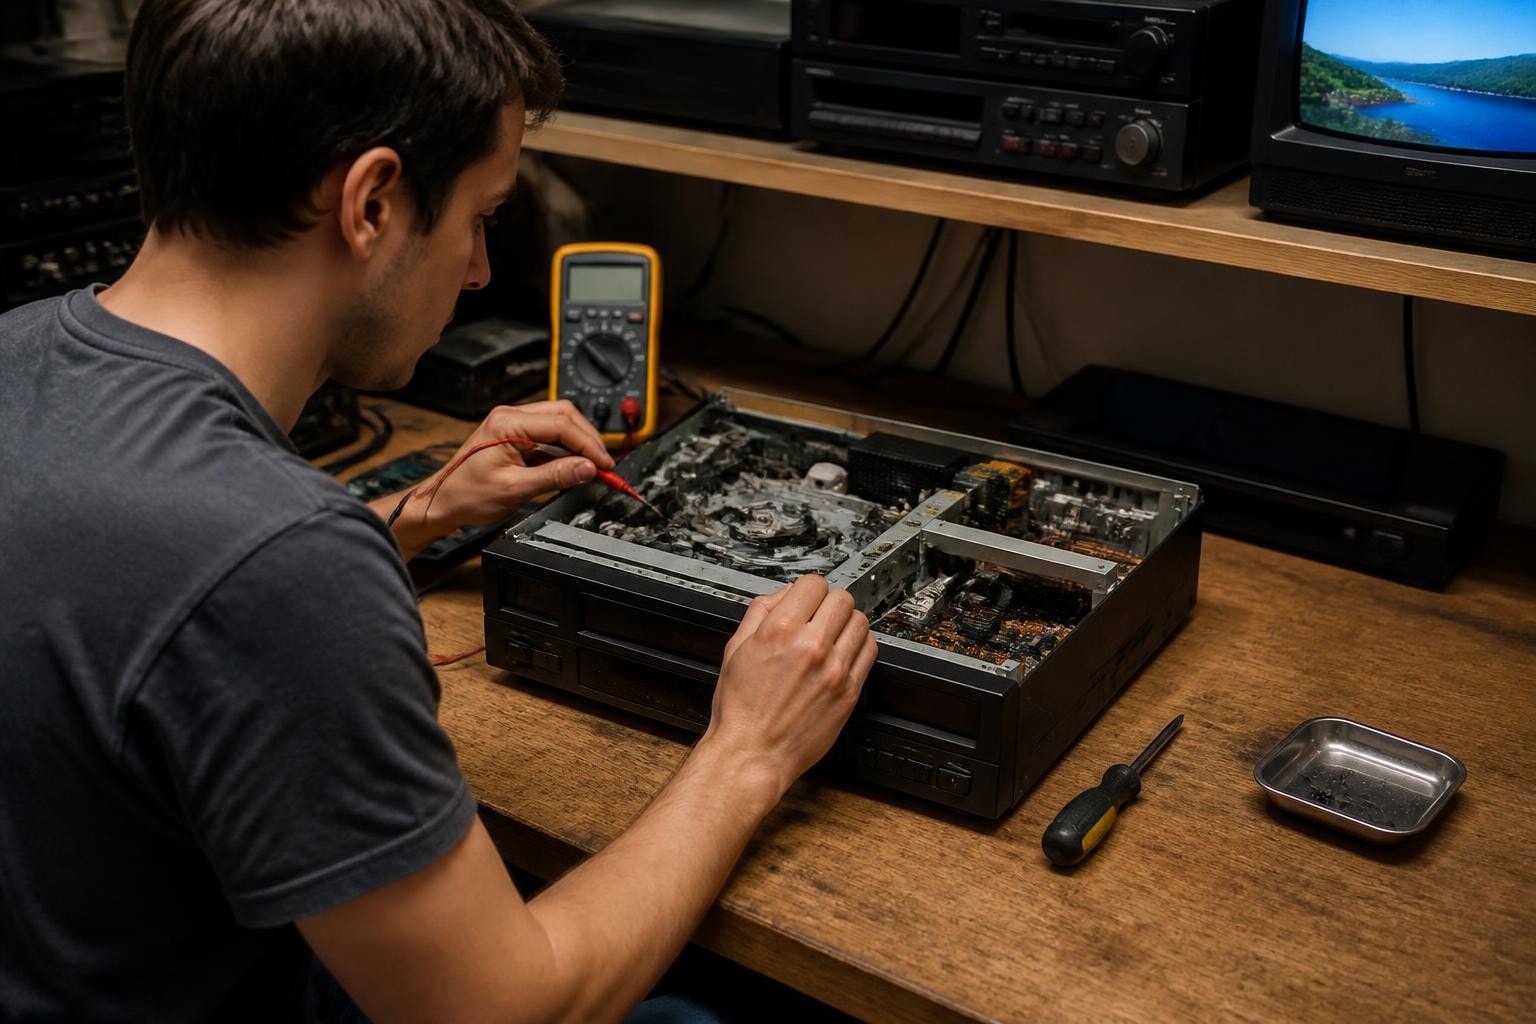
Before you attempt to repair VHS C tape, establish a clean, controlled workspace with proper tools. Contamination during repair can introduce new problems more severe than the original damage.
Your repair station should include:
- Precision screwdrivers (Phillips #0 and #00)
- ESD-safe tweezers for handling tape
- Isopropyl alcohol (90% or higher) and lint-free wipes
- White cotton gloves to prevent fingerprint oils on tape
- Splicing block specifically sized for 1/2-inch tape
- Splicing tape (EMI/Ampex 963 or equivalent)
- Replacement VHS-C shells from donor cassettes
- Inspection loupe or microscope for examining tape edges
The Library of Congress provides detailed preservation guidance for magnetic tape handling that applies directly to VHS-C repair workflows. Their recommendations emphasize environmental control and contamination prevention.
| Tool Category | Purpose | Critical Specification |
|---|---|---|
| Screwdrivers | Shell disassembly | Non-magnetic tips only |
| Cleaning supplies | Remove debris, mold | 90%+ IPA, lint-free |
| Splicing materials | Rejoin broken tape | 1/2" width, archival adhesive |
| Replacement parts | Shell reconstruction | Exact VHS-C dimensions |
Working in an environment between 65-70°F with 30-40% relative humidity prevents additional tape stress during repair. Many professionals maintain a dedicated climate-controlled space for tape work.
Shell Repair and Component Replacement
Broken VHS-C shells represent the most common repairable damage type. Unlike tape breaks or oxide layer deterioration, shell damage doesn't affect the recorded signal-you're simply providing a new housing for existing tape.
Disassembly Process
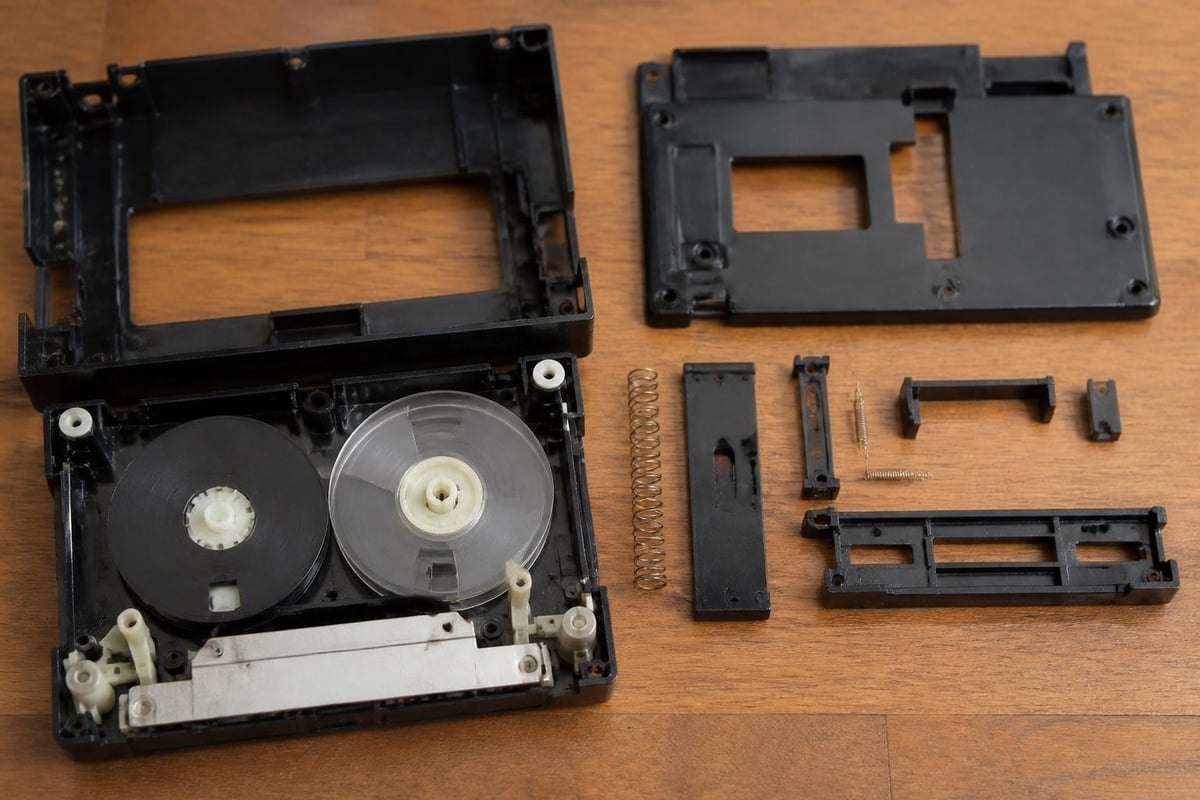
Begin by examining the damaged cassette under good lighting. Identify which specific components are broken before opening the shell. VHS-C cassettes use five small screws to hold the two shell halves together.
Remove all five screws and carefully lift the top shell half. Note the exact position of every component:
- Take reference photos before disturbing any parts
- Observe spring tension direction on the pressure pad
- Note reel rotation orientation (tape winds clockwise on take-up reel)
- Check the small plastic guides that position the tape edge
- Inspect both reels for cracks or damage
The U.S. National Archives video storage guidance emphasizes documentation during any conservation procedure. For professional digitization work, this documentation protects you and establishes the tape's condition history.
Transfer the tape reels and all functional components into a donor shell. Maintain identical tape tension during the transfer to prevent spooling problems. If the tape has loosened on the reels, use a pencil inserted into the take-up reel hub to manually wind it tight before closing the new shell.
Addressing Tape Breaks and Splicing Techniques
When magnetic tape physically breaks, you face a choice: splice the tape to recover as much content as possible, or declare the tape beyond economical repair. For irreplaceable footage, splicing is usually worthwhile despite signal disruption at the splice point.
Preparation and Alignment
To repair VHS C tape breaks, you need a proper splicing block designed for 1/2-inch tape. Generic splicing methods used for audio cassettes will not work reliably for video applications due to different dimensional tolerances.
Clean both broken tape ends with isopropyl alcohol to remove any oxide debris or oils. Use a single-edge razor blade to create fresh, perpendicular cuts on each end. The cleaner your cut, the less visible the splice during playback.
Position both tape ends in the splicing block with the magnetic (dull) side facing up. Bring the ends together with no gap and no overlap. Even a 0.5mm gap will cause noticeable video disruption during playback.
Application of Splicing Tape
Apply a small piece of 1/2-inch splicing tape across the joint. Use only archival-grade splicing tape designed for magnetic media-standard office tape contains adhesives that migrate into the oxide layer and cause permanent damage.
- Cut splicing tape precisely to the 1/2-inch width
- Burnish the splice with a plastic tool to ensure full adhesion
- Trim any excess tape extending beyond the tape edges
- Avoid touching the adhesive surface with your fingers
The CLIR videotape splicing guidance provides technical specifications for archival splicing that exceed consumer-level repairs. For digitization shops handling commercial projects, this level of precision justifies the investment in proper tools.
Professional VCR repair services often include tape splicing as part of comprehensive restoration packages, especially when combined with deck cleaning and calibration.
Cleaning Moldy or Contaminated Tape
Mold contamination requires careful assessment before attempting playback. Running moldy tape through expensive playback equipment can destroy the deck's video heads and contaminate the entire tape path. When you repair VHS C tape with visible mold, cleaning must precede any other repair steps.
Evaluation and Safety
Examine the tape under magnification. Active mold appears fuzzy or raised, while dormant mold looks flat and dusty. Both types require removal, but active mold indicates ongoing degradation that may have already damaged the oxide layer beyond recovery.
Work in a well-ventilated area or use appropriate respiratory protection. Mold spores from magnetic tape can trigger respiratory issues, and the cleaning process aerosolizes these particles.
The Canadian Conservation Institute technical bulletin describes common tape deterioration patterns including mold and recommends environmental controls to prevent future growth.
Hand-Cleaning Method
Wind the tape slowly from one reel to the other while gently wiping both the oxide side and backing with lint-free wipes moistened with isopropyl alcohol. This labor-intensive process can take 30-60 minutes per cassette but remains the safest approach for valuable footage.
Never use compressed air to remove mold from magnetic tape. This forces spores deeper into the tape pack and contaminates your workspace.
| Contamination Type | Cleaning Approach | Success Rate |
|---|---|---|
| Surface dust | Dry lint-free wipe | 95%+ |
| Light mold (dormant) | IPA wipe, single pass | 80-90% |
| Heavy mold (active) | IPA wipe, multiple passes | 50-70% |
| Sticky-shed syndrome | Baking treatment required | Variable |
After cleaning, allow the tape to dry completely before attempting playback. Even small amounts of residual alcohol can damage video heads or cause tracking errors.
Correcting Tape Tension and Winding Problems
Improper tape pack tension causes numerous playback problems in VHS-C cassettes. Tape that's too loose will slip during playback, creating tracking errors and dropouts. Tape wound too tight stretches the backing, causing permanent dimensional changes.
Identifying Tension Issues
When you open a VHS-C cassette, inspect the tape pack on both reels. Properly wound tape should:
- Sit flat and even across the reel width
- Show no gaps between tape layers
- Have slightly convex edges (center winds tighter than edges)
- Rotate freely without binding when you spin the reel
Concave tape pack edges indicate the tape has been stored in high humidity and has expanded. Gaps between layers suggest someone fast-forwarded or rewound the tape without proper tension control.
For digitization professionals, understanding VHS tape characteristics helps identify whether tension problems occurred during recording, playback, or storage.
Rewinding for Proper Tension
Use a VHS-C adapter with motorized transport, not a VHS-C compatible deck's rewind function, to restore proper tension. The adapter's passive tape path allows the deck to control winding speed and tension more precisely.
Insert the repaired cassette into an adapter, then into a well-maintained VHS deck. Play for 10-15 seconds, then rewind completely at normal speed. Repeat this process 2-3 times. Each pass through the tape path helps redistribute tension and flatten edge deformations.
The preventive conservation guidelines from the Government of Canada explain how environmental factors affect tape dimensions and why tension correction often requires multiple playback cycles.
Working with Professional VHS-C Playback Equipment
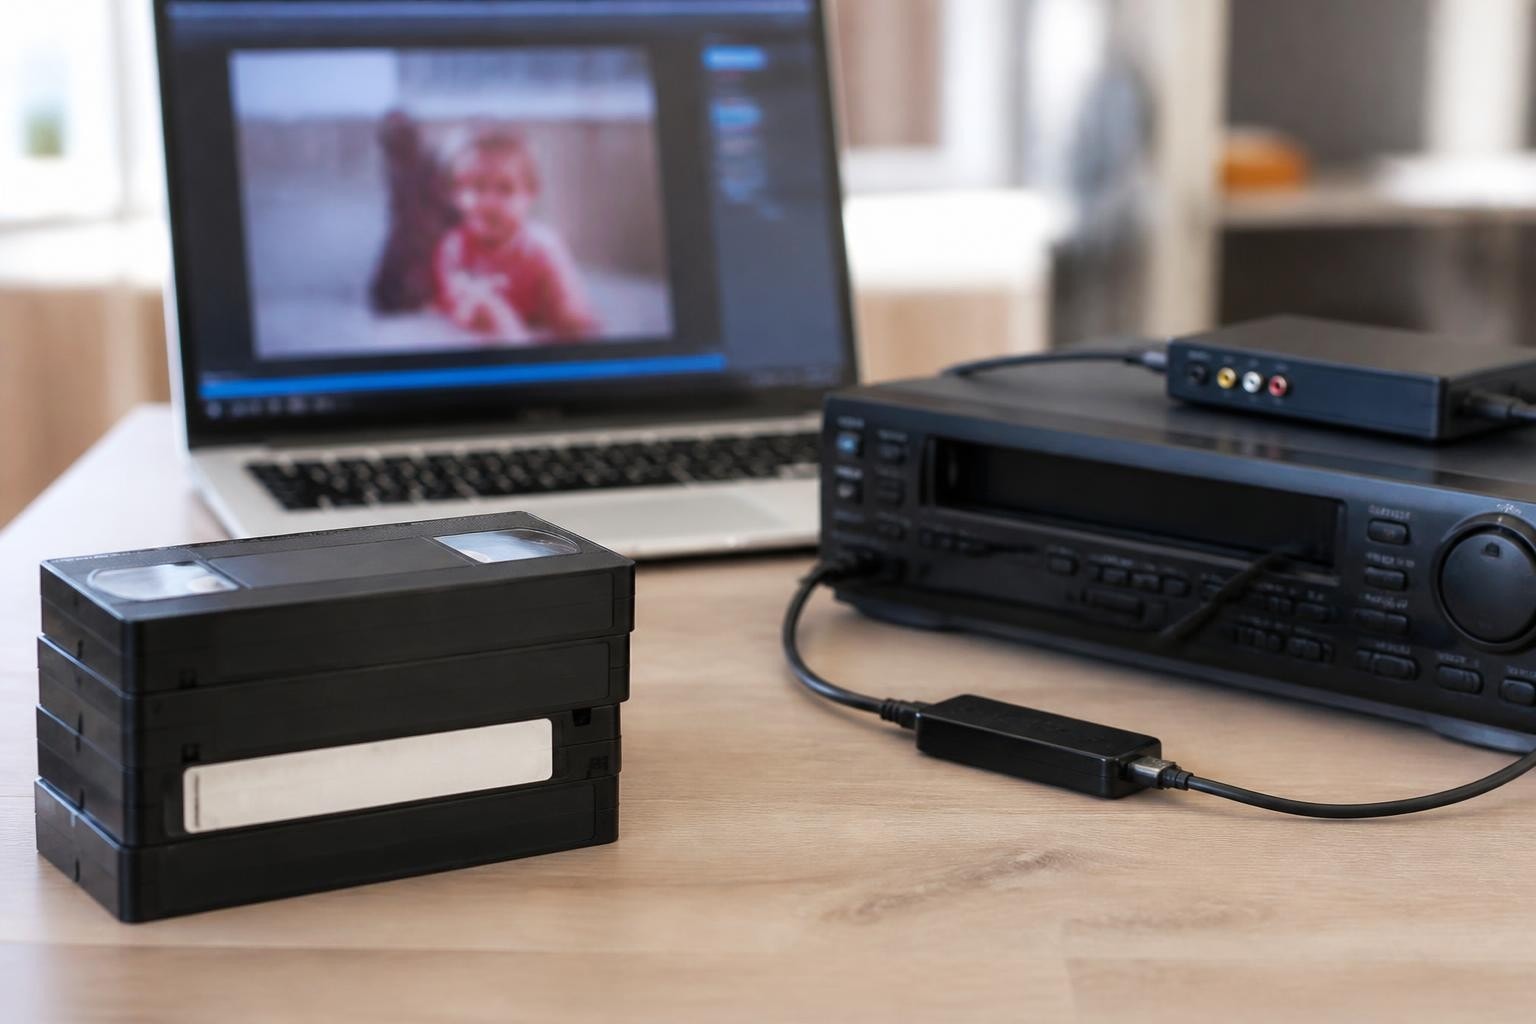
Successfully repairing VHS-C tape means nothing if you lack reliable playback equipment to capture the content. Professional digitization shops need decks specifically designed for VHS-C playback or high-quality adapters that work with S-VHS decks.
Equipment Considerations for 2026
Most consumer VHS-C equipment hasn't been manufactured since the mid-2000s, making professional-grade maintained decks increasingly valuable. Working VHS-C-compatible decks with fresh video heads and proper calibration deliver significantly better results than degraded consumer equipment.
Many digitization facilities use S-VHS deck rentals combined with professional VHS-C adapters rather than maintaining aging VHS-C-specific decks. This approach provides access to better-maintained equipment with superior time-base correction and video processing.
When you repair VHS C tape for clients, your playback equipment quality directly affects the final deliverable. Investing in professional VCR maintenance ensures consistent results across hundreds of transfers.
| Equipment Type | Advantages | Limitations |
|---|---|---|
| VHS-C specific decks | Direct loading, proper tape path | Scarce, aging, limited features |
| VHS-C adapters + S-VHS decks | Better video quality, more available | Requires proper adapter quality |
| Professional TBCs | Corrects timing errors | Cannot fix physical tape damage |
The U.S. National Archives audio and video resources include technical standards for professional transfer equipment that apply to commercial digitization operations.
Troubleshooting Persistent Playback Problems
Even after successful repair, some VHS-C tapes exhibit playback issues requiring additional diagnosis. Understanding what can and cannot be fixed prevents wasting time on tapes with fundamental recording or oxide layer problems.
Tracking and Sync Issues
If repaired tape plays with horizontal noise bands, rolling picture, or intermittent sync loss, you're likely seeing tracking errors rather than damage. Try adjusting the VHS deck's tracking control while the tape plays. VHS-C tapes recorded on consumer camcorders often have variable tracking throughout the tape.
Modern time-base correctors can stabilize many timing problems during capture, but they cannot fix missing information from tape damage. The PFClean guide to tape defects explains which problems can be addressed in post-production versus those requiring physical tape repair.
When to Stop Repair Attempts
Some damage types exceed the practical limits of repair:
- Oxide layer separation from backing (visible as brown dust)
- Tape stretching exceeding 2-3% of original length
- Multiple breaks requiring more than two splices
- Chemical deterioration from fire, water, or improper storage
For clients expecting 100% recovery of damaged tapes, setting realistic expectations prevents disputes. Document damage thoroughly and explain which portions of recordings may be unrecoverable.
Professional facilities often maintain relationships with VCR repair shops that can assess whether damage requires specialized conservation beyond standard repair techniques.
Documentation and Client Communication
Every repair you perform should be documented for quality control and client transparency. Professional digitization operations maintain detailed repair logs showing the condition received, work performed, and final outcome.
Creating Repair Records
Photograph damaged tapes before, during, and after repair. These images protect you from liability claims and help clients understand the work performed. Note specific damage types, repair techniques used, and any limitations in the expected transfer quality.
Include this information in your documentation:
- Client name and project identifier
- Tape format and manufacturer markings
- Damage assessment and severity rating
- Repair techniques applied with timestamps
- Test playback results and quality notes
- Recommendations for handling remaining tapes in collection
For shops handling archival or legal projects, this documentation becomes part of the permanent record. The practical digitization guide from PCWorld includes workflow recommendations that apply to commercial operations.
Setting Client Expectations
When you repair VHS C tape for clients, explain that repair restores playability but cannot improve the original recording quality. Damaged tapes may still exhibit dropout, noise, or tracking issues after repair if the recorded signal was compromised.
Provide clear estimates for:
- Probability of successful repair (percentage)
- Expected quality degradation at splice points
- Turnaround time for complex repairs
- Additional costs if specialized conservation is required
Transparent communication prevents misunderstandings and builds trust with clients who understand that some vintage media faces fundamental preservation challenges.
Advanced Techniques for Severe Damage
Some VHS-C tapes arrive with damage requiring techniques beyond basic shell replacement or splicing. These advanced procedures demand specialized equipment and expertise but can salvage footage that would otherwise be lost.
Tape Baking for Sticky-Shed Syndrome
Older VHS-C tapes, particularly those manufactured in the late 1980s, can develop sticky-shed syndrome where the binder holding the oxide layer deteriorates. The tape becomes tacky and sheds oxide particles during playback, ruining video heads and creating permanent signal loss.
Controlled low-temperature baking can temporarily reverse this condition. Place the opened cassette (tape reels only) in a food dehydrator set to 130°F for 4-8 hours. The heat drives out absorbed moisture and temporarily restores the binder chemistry.
This treatment lasts only 24-72 hours before the tape returns to its degraded state, so you must capture the content immediately after treatment. Professional conservation facilities use this technique as a last resort for irreplaceable recordings.
Edge Damage Trimming
Tape with damaged edges-crinkled, torn, or delaminated areas along the top or bottom edge-can sometimes be salvaged by carefully trimming the damaged portion. VHS tracks are recorded diagonally across the tape width, so minor edge damage doesn't always destroy the recorded signal.
Using a precision straightedge and fresh razor blade, trim the damaged edge perpendicular to the tape length. Remove only the minimum necessary to eliminate the damaged section, typically 1-2mm. The tape will still play, though the picture may show slight vignetting at the edges.
This technique works only for edge damage affecting less than 10% of the tape width. More extensive damage requires accepting signal loss or attempting splice repairs.
Repairing VHS-C tape successfully requires patience, proper tools, and realistic assessment of damage severity. By following preservation best practices and maintaining detailed documentation, you can salvage irreplaceable recordings while protecting your professional reputation and equipment investment. Whether you're handling routine shell replacements or complex conservation challenges, VCR Supply provides the professional-grade equipment, repair services, and technical support digitization shops need to deliver consistent results-backed by maintenance contracts that minimize downtime and a diagnostic process that identifies problems quickly.