VCR Tape Repair Guide: Fixing Snapped Videotape
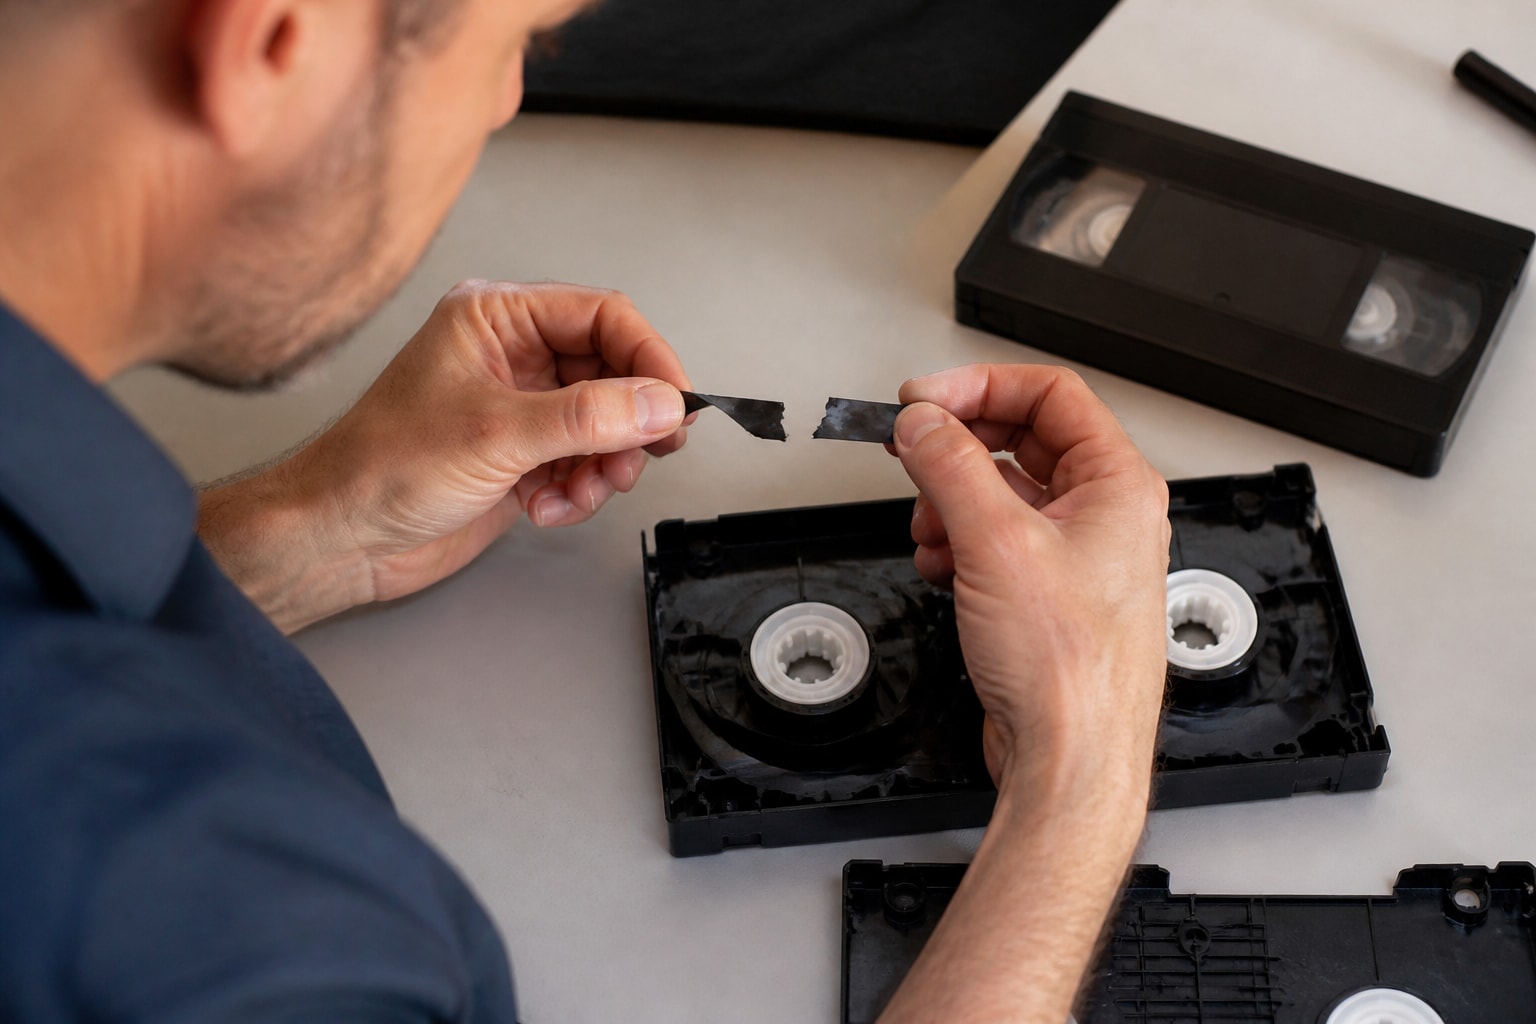
VCR tape repair means opening the cassette, rejoining the broken magnetic tape with a clean splice, and re-seating it on the reels so the tape can play again. It is delicate work, and for irreplaceable footage the safest first move is to stop playing the tape and assess the damage before anything else touches it. This guide explains how a snapped videotape is repaired, when to attempt it, and how digitization shops can avoid damaging decks while handling fragile media.
What Causes a Videotape to Snap?
A videotape usually snaps because the tape is brittle, stuck, or being pulled by a mechanism that is out of adjustment. Age, heat, humidity, and a worn deck all contribute, and often more than one factor is at work.
The most common causes include:
- Binder degradation. Older tape can shed oxide or become sticky, which raises friction in the tape path.
- Brittle or stretched tape. Heat and poor storage weaken the base film until it breaks under normal tension.
- Mold and moisture. The National Archives notes that humidity above 65% can encourage mold growth on magnetic tape.
- Mechanical faults in the deck. Misaligned guides, weak back tension, or a failing take-up reel can pull a healthy tape past its limit.
- Previous rough handling. A tape that was ejected mid-play or stored inside a deck may already have a crease or edge damage.
Tape condition varies with storage. According to the National Archives, magnetic tapes stored under archival conditions may last about 10 to 50 years before decay makes them difficult to handle. Many consumer VHS tapes recorded in the 1980s and 1990s may now be approaching the end of that range.
Should You Attempt VCR Tape Repair Yourself?
You can attempt VCR tape repair yourself on a common consumer tape with low sentimental value, but irreplaceable footage deserves a trained specialist. The risk is that a poor splice can shed debris, jam the transport, or leave a bump that damages the video heads.
The National Archives is direct on this point: it advises against splicing or repairing broken magnetic tape without appropriate training and recommends consulting an audiovisual preservation specialist. For a digitization shop, that guidance translates into a simple policy. Repair tapes you can afford to lose, and route client masters and one-of-a-kind recordings to someone with bench experience.
A second rule applies regardless of skill level. The Library of Congress warns that playing a damaged tape can further harm both the media and the playback equipment. Do not test a suspect cassette by pressing play.
How Do You Repair a Broken VHS Tape?
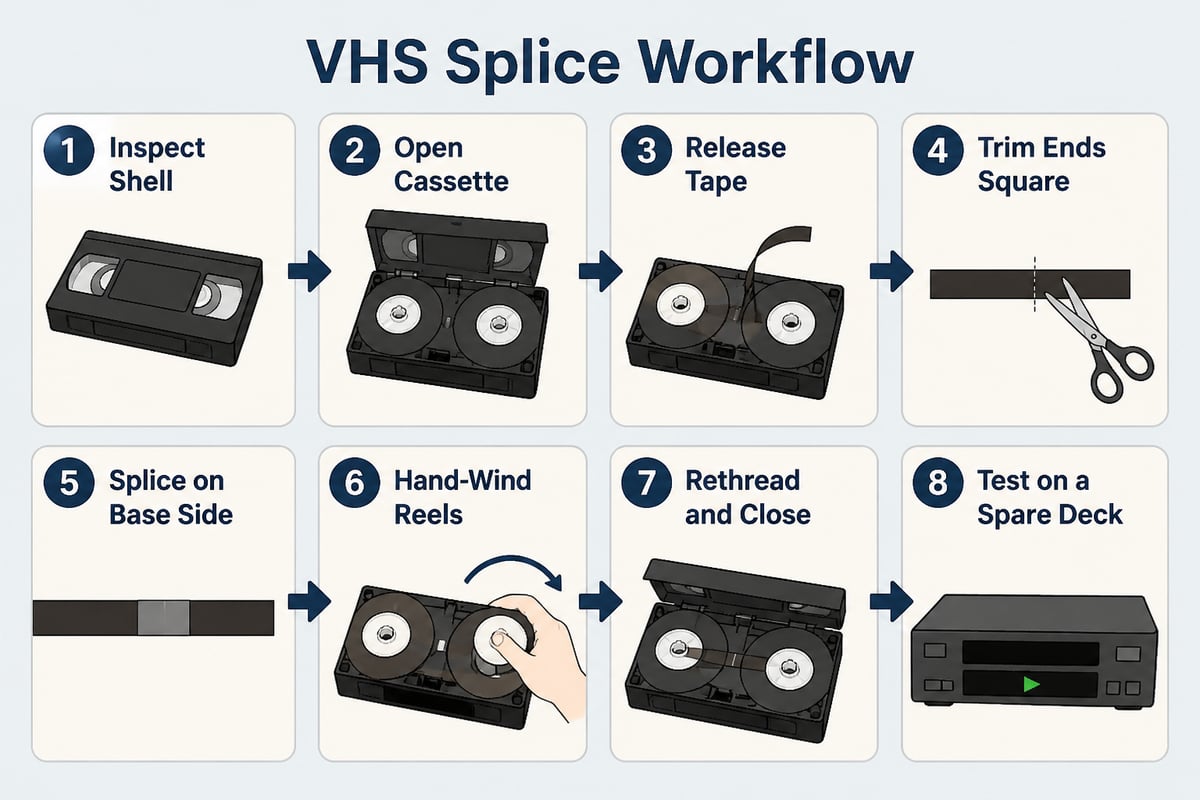
To repair a broken VHS tape, open the cassette, join the two tape ends with a precise splice, and rewind the tape onto the reels by hand before closing the shell. The process takes patience more than special skill, and each step matters.
The steps, in order:
- Inspect before opening. Check the shell for cracks, loose screws, and signs of mold. Moldy tape needs cleaning and should not enter a working deck.
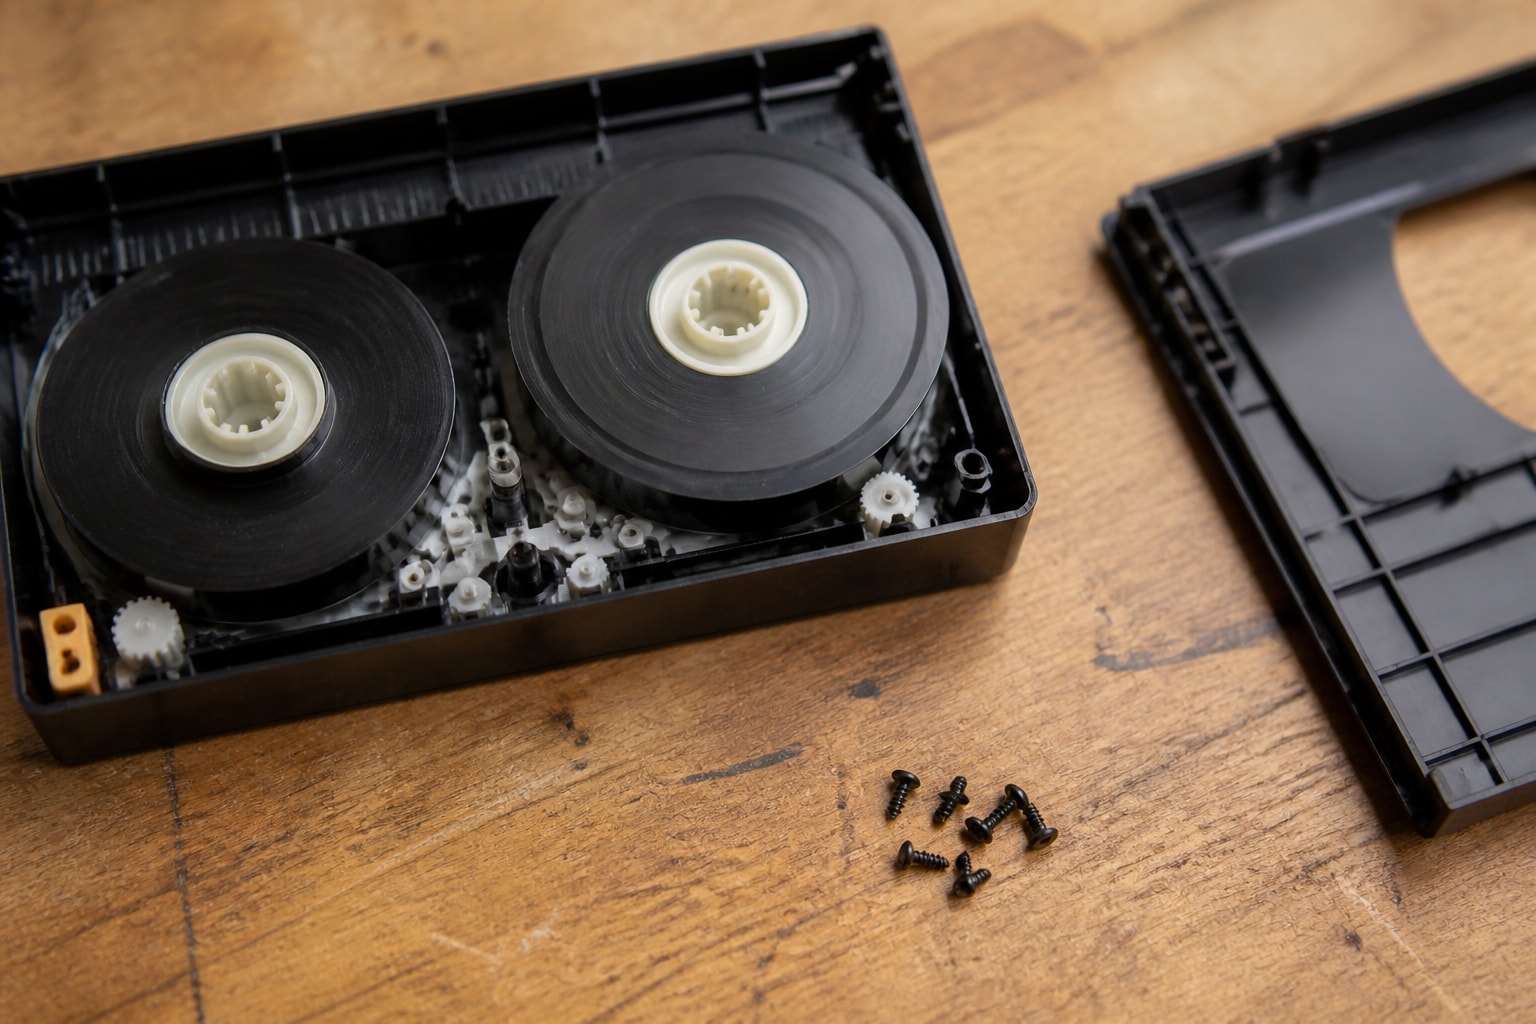
- Open the cassette. Remove the five or six screws on the underside, keeping them sorted. Lift the top shell straight up.
- Release the tape. Unlock the brake, free the tape from the guide posts, and note the correct threading path.
- Trim the break cleanly. Cut both ends at a square angle with a sharp blade, removing any stretched or creased section.
- Splice the ends. Butt the ends together on a splicing block and apply splicing tape to the shiny base side only, never the oxide side.
- Wind by hand. Turn the reels with a pencil or hub tool so the tape sits flat and evenly tensioned.
- Rethread and close. Restore the tape path around the guides, reseat the reels, and secure the shell.
- Test on a spare deck. Play a short section on a secondary machine, not your primary transfer deck.
For a deeper look at the cassette itself, VCR Supply covers the process in its articles on VHS tape repair and the VHS cassette repair workflow.
What Tools and Materials Does a Splice Require?
A reliable splice needs a small set of tools, and substituting household tape for proper splicing tape is the most common error. The wrong adhesive can ooze, collect debris, and foul the heads.
| Item | Purpose |
|---|---|
| Small precision screwdriver | Opening the cassette shell |
| Splicing block | Holding tape ends aligned for a straight cut |
| Single-edge razor blade | Cutting a clean, square edge |
| Splicing tape | Joining the base side without leaving residue |
| Tweezers | Handling tape ends without touching oxide |
| Lint-free gloves | Keeping skin oils off the tape surface |
| Spare reel hub tool | Winding tape evenly by hand |
Work on a clean, static-free surface with good light. Keep fingers away from the shiny oxide-coated face of the tape, since oils and fingerprints transfer to the video heads and cause dropouts.
Why Is My VHS Spitting Out the Tape?
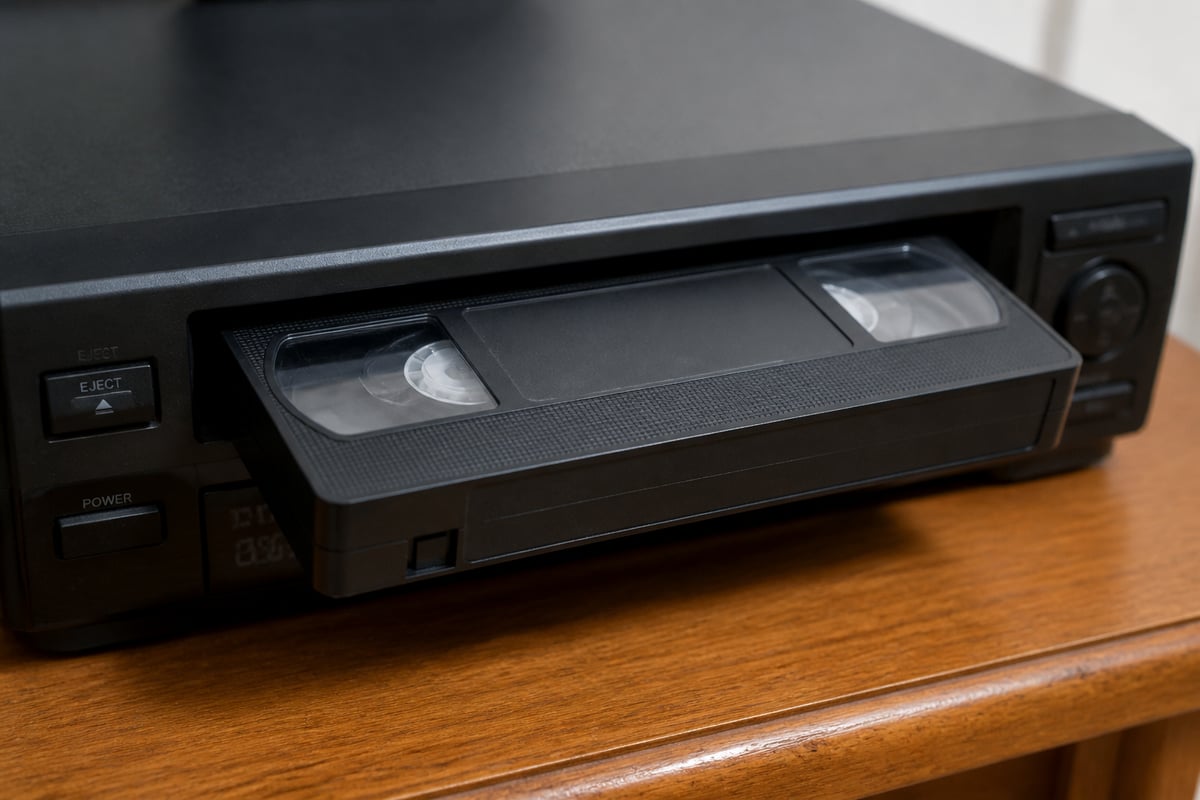
A VHS player spits out the tape when its sensors or mechanism detect something wrong, such as a faulty tape-end sensor, worn loading components, or a cassette that will not thread properly. The problem lies in the deck as often as in the tape.
Check these in order:
- Cassette condition. A cracked shell, loose label, or warped door can prevent proper seating.
- Dirty sensors or heads. Dust and residue can trick the machine into thinking the tape has ended.
- Worn belts and idler tires. Rubber parts age and lose grip, so the loading motor cannot complete its cycle.
- Faulty take-up or supply reel sensors. The deck ejects when it cannot detect reel rotation.
If several tapes eject, the deck needs service rather than the media. Persistent ejection also risks tape damage, because a deck that misreads tension can stretch or snap a fragile cassette. VCR Supply explains how to approach this on its VHS player repair page.
Can a Tape Be Repaired If It Has Mold or Sticky Binder?
A moldy or sticky tape should not be spliced and played until it has been cleaned or stabilized, because the contamination spreads to the deck's heads and guides. Splicing it is the least of the problem.
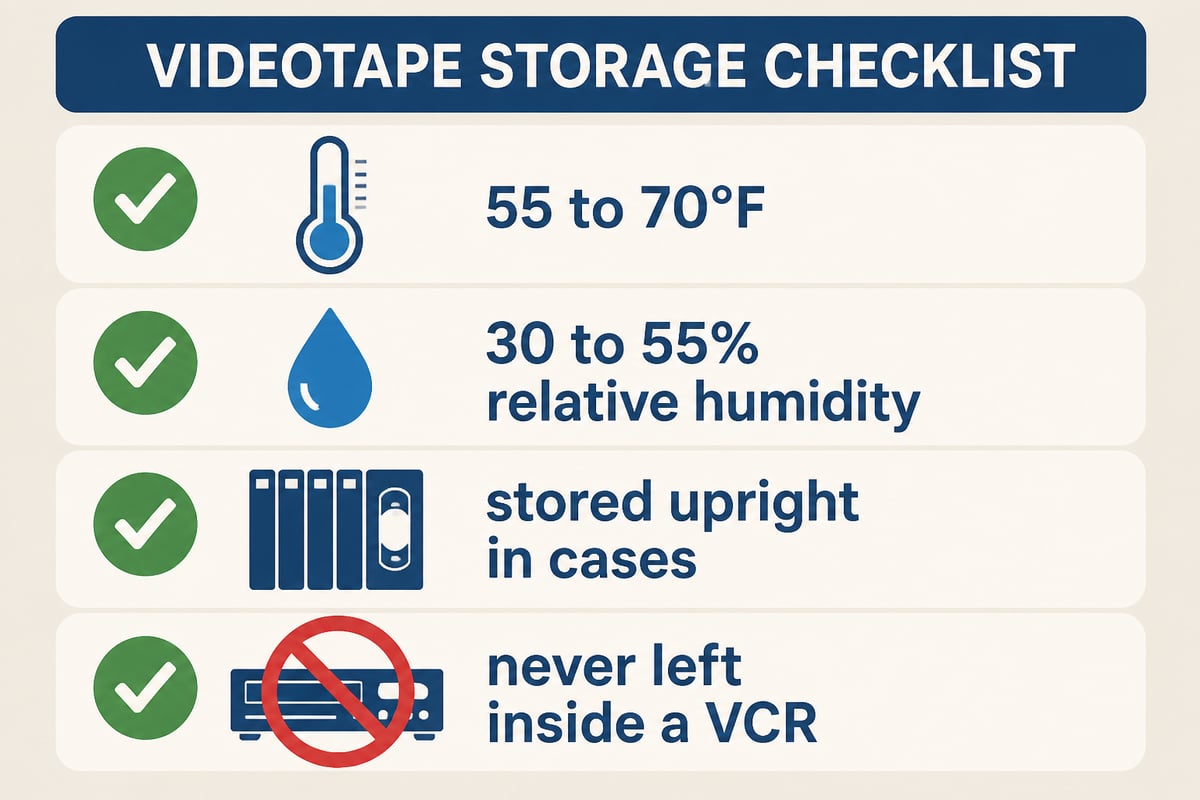
Signs of mold include a white or gray powdery film on the tape edge, a musty smell, or visible spotting on the pack. Storage matters here. The National Archives recommends keeping home video at 55 to 70°F and 30 to 55% relative humidity, with minimal fluctuations, and advises storing tapes vertically in their cases rather than stacked. It also says tapes should not be left inside a VCR when not in use.
For a digitization shop, a contaminated tape is also a cross-contamination risk. Run affected tapes on a dedicated deck, clean the tape path after each pass, and keep a separate log. Sticky-shed tapes may need specialist treatment before any transfer attempt.
How Do You Protect Your Deck When Running Repaired Tapes?
Protect your deck by treating every repaired tape as a hazard until it has proven itself on a secondary machine. A splice that looks perfect can still add a bump or ridge that scrapes the heads on the first pass.
A practical protocol for shops:
- Test repaired tapes on a sacrificial or backup deck first.
- Watch the tape path through the first minute for jitter, squeal, or tape wander.
- Clean heads and the full tape path after playing any repaired or suspect cassette.
- Keep a short note on each tape recording the splice location, so the section can be monitored in future.
Equipment downtime is the larger cost. A damaged head or loading mechanism can pull a deck out of service for days, which stalls client work. This is where a spare unit or a rental deck pays for itself, and where preventive service lowers the odds of a tape-related failure. A deck that is already worn will stress tape more, so the machine and the media should be considered together.
When Does a Deck Need Professional Repair Instead?
A deck needs professional repair when it chews tape, ejects cassettes, produces inconsistent tracking, or shows physical wear in the loading mechanism, because these faults will keep damaging tapes no matter how well each one is spliced. Fixing the tape without fixing the machine only restarts the cycle.
For digitization shops and archivists working with professional formats, VCR Supply offers professional VCR and videotape deck repair, covering bench diagnosis, preventive service, and mechanical and electronic repair of customer-owned decks. That matters most when you run S-VHS, Betamax, MiniDV, or Digital8 machines whose parts are no longer in production. Related background is available in VCR Supply's guides to VCR repair and the VCR repair shop process.
For specifics on turnaround, pricing, and what a deck needs, check the repair page or contact VCR Supply directly rather than assuming a standard timeline.
What Should You Do After the Tape Is Repaired?
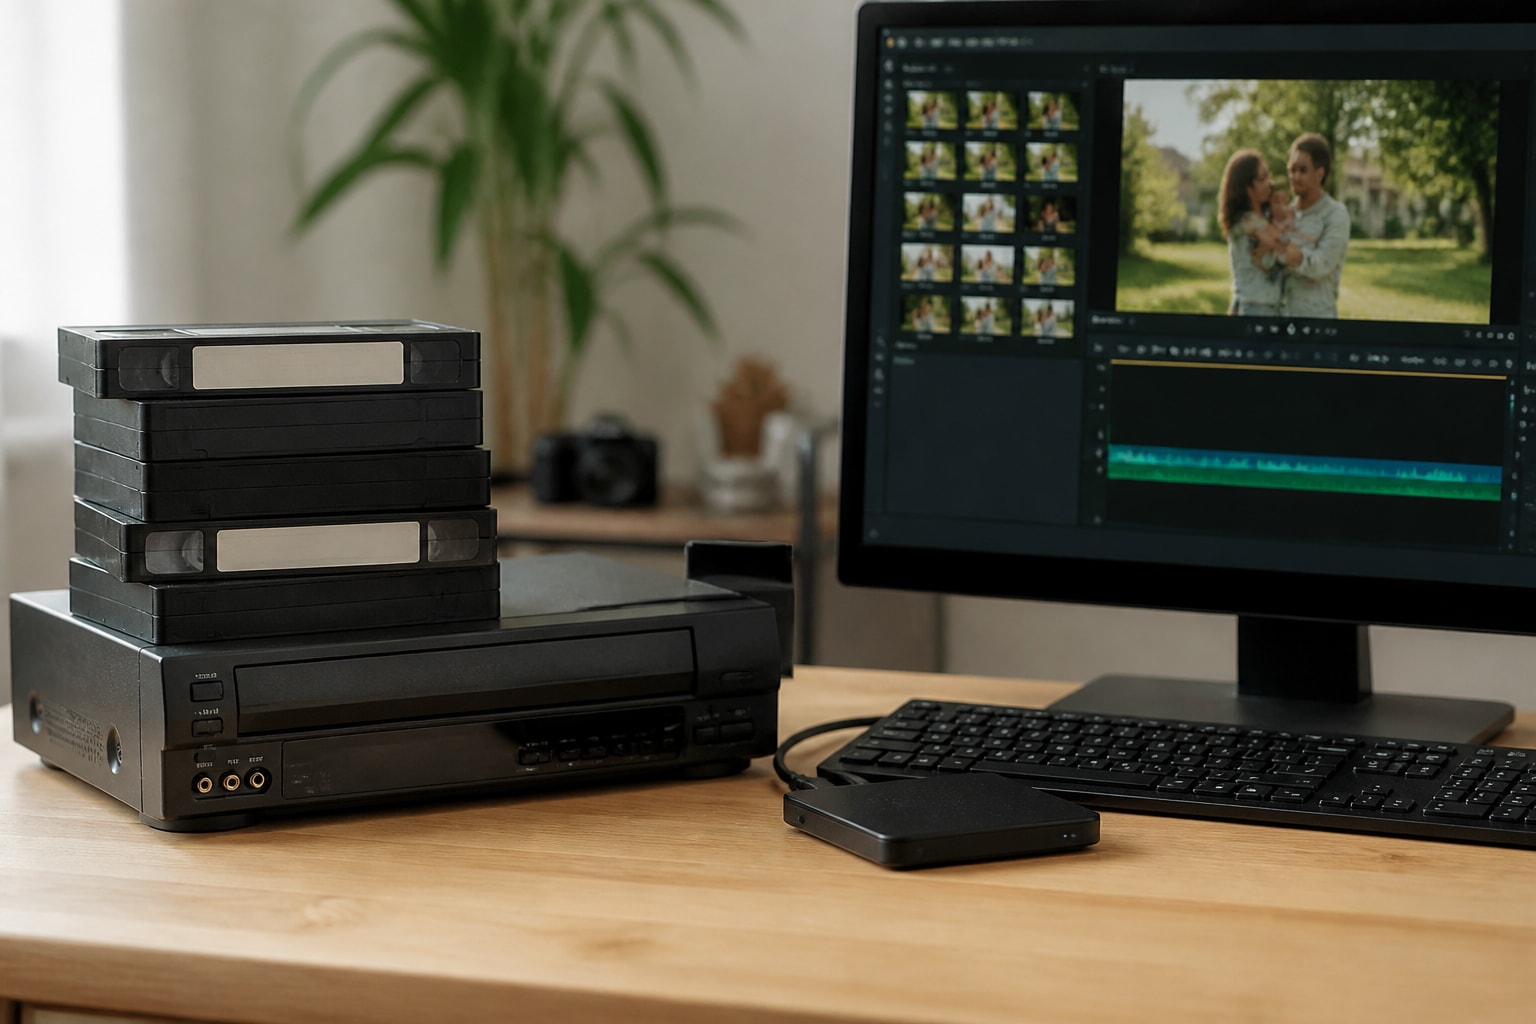
After a repair, transfer the content to a digital format as soon as possible, because a spliced tape is a temporary fix and not a long-term preservation strategy. The splice is a weak point, and the underlying tape may already be deteriorating.
Capture the full tape in one pass if you can, at the best quality your deck and workflow allow. Store the original upright, in its case, in a stable environment, and retire it from regular playback once the digital file is verified.
Time-based correction can also matter. Repaired and aged tapes often show unstable sync, and a time base corrector helps stabilize the signal during capture.
FAQ
How much does it cost to fix a VHS player?
Repair cost depends on the fault, the model, and whether parts are available, so a fixed price cannot be given without a diagnosis. A bench diagnosis identifies the cause first, and from there a quote can be built. Check VCR Supply's repair page or contact the team for current terms.
Do rare VHS tapes sell for high prices?
Some rare sealed releases have sold at auction for high prices, but values vary widely by title, condition, and sale. For most home recordings and standard releases, the value is sentimental rather than monetary. If you suspect a tape is collectible, have it appraised before attempting any repair.
Can a snapped VHS tape be fixed without opening the cassette?
No. A snapped tape must be accessed inside the shell to trim and splice the ends. Attempting to feed or tape a break from outside the cassette will leave the tape misaligned and risks jamming your deck.
If you have a snapped or suspect tape on your bench right now, set it aside, do not play it, and decide whether it is a spare to repair yourself or a master to hand to a specialist. If the real problem is a deck that keeps damaging tapes, VCR Supply can diagnose and fix it through its professional VCR and videotape deck repair service, which starts with a $95 diagnostic. VCR Supply also rents professional decks in formats such as MiniDV, S-VHS, Digital8, and Betamax starting at $99 per month, and offers maintenance contracts to reduce downtime for digitization shops.