VHS Repair Guide: Fixing Common Tape and Deck Problems
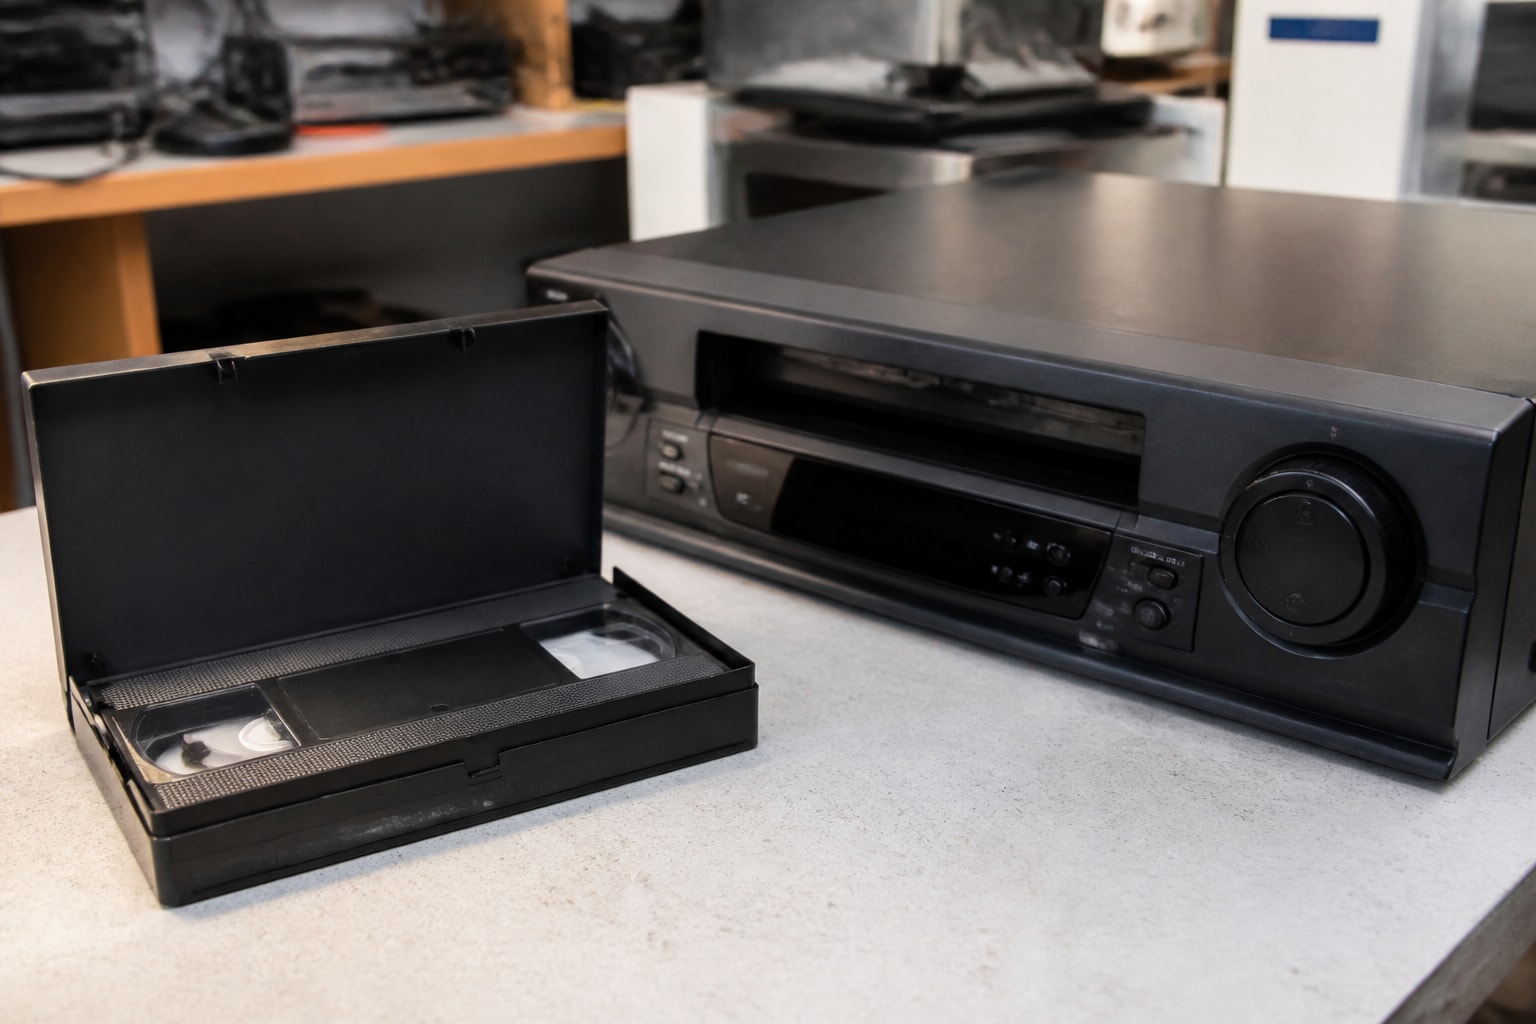
VHS repair covers two separate jobs: fixing the cassette (snapped tape, loose splices, mold, a damaged shell) and fixing the deck that plays it (jammed loading, worn heads, failed belts, dead tracking). Most tape problems can be repaired by transplanting the tape into a fresh shell, while deck problems usually need bench diagnosis, because a faulty machine will damage every cassette it touches. This guide walks through both sides so you can tell what is safe to try yourself and what belongs on a technician's bench.
How to Tell Whether the Tape or the Deck Is the Problem
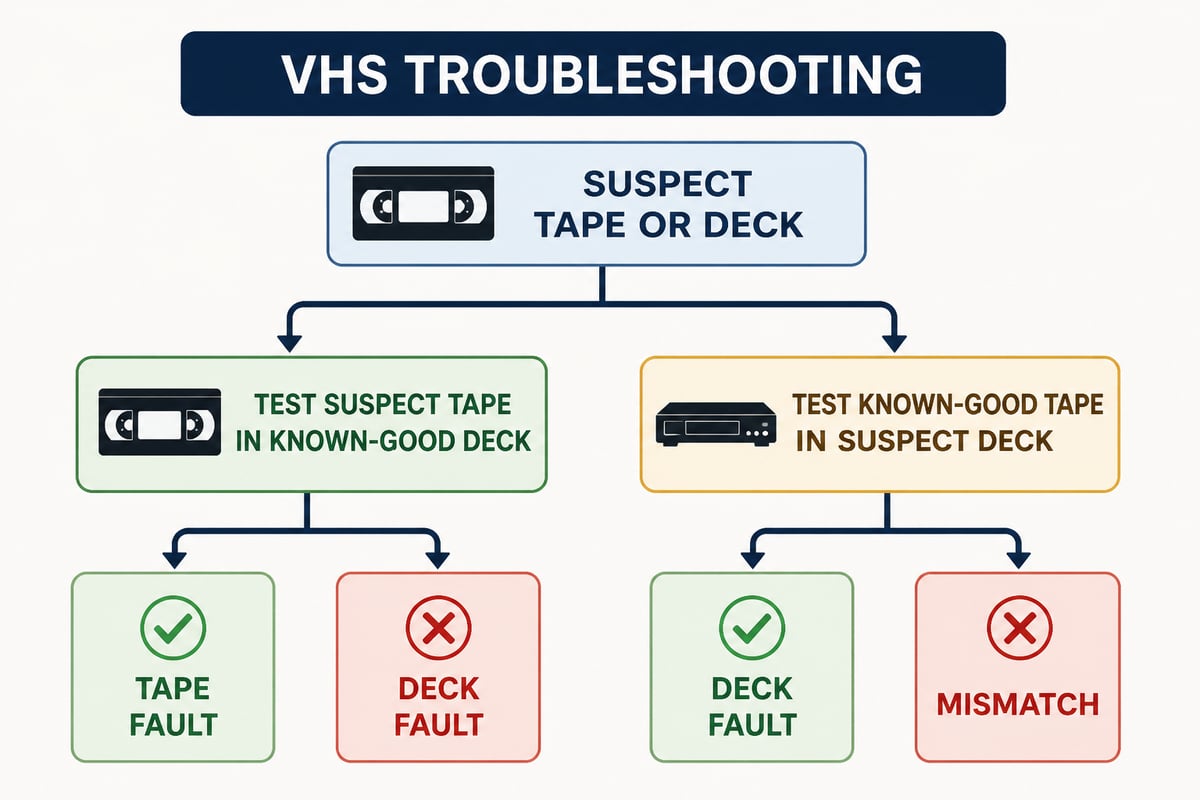
Start by testing the suspect cassette in a second, known-good deck and testing a known-good cassette in the suspect deck. The result isolates the fault in under ten minutes and prevents you from blaming a healthy tape for a machine problem.
Use this quick sorting guide:
- Symptom appears on every tape: the deck is the likely cause (dirty or worn heads, tracking faults, a failing capstan or pinch roller).
- Symptom appears on one tape only: the tape or its shell is the likely cause (creased pack, shedding oxide, mold, a broken guide or spring in the cassette).
- Symptom appears on one tape in one deck only: a mechanical mismatch is possible, such as a deck with misaligned guides that struggles with an older recording made on a different machine.
Stop playing a problem tape the moment you suspect damage. Each additional pass through a misbehaving transport can crease the tape, strip oxide, or clog the heads with debris. The U.S. National Archives states plainly that you should not play a tape with visible dust, dirt, or debris before seeking guidance from a preservation specialist.
Can You Fix a Snapped VHS Tape?
Yes. A snapped VHS tape can usually be repaired by splicing the break with splicing tape or by moving the reels into a new cassette shell, and the recording on either side of the break normally survives. The break itself costs only a second or two of picture, provided the repair is done cleanly.
The standard approach has four steps:
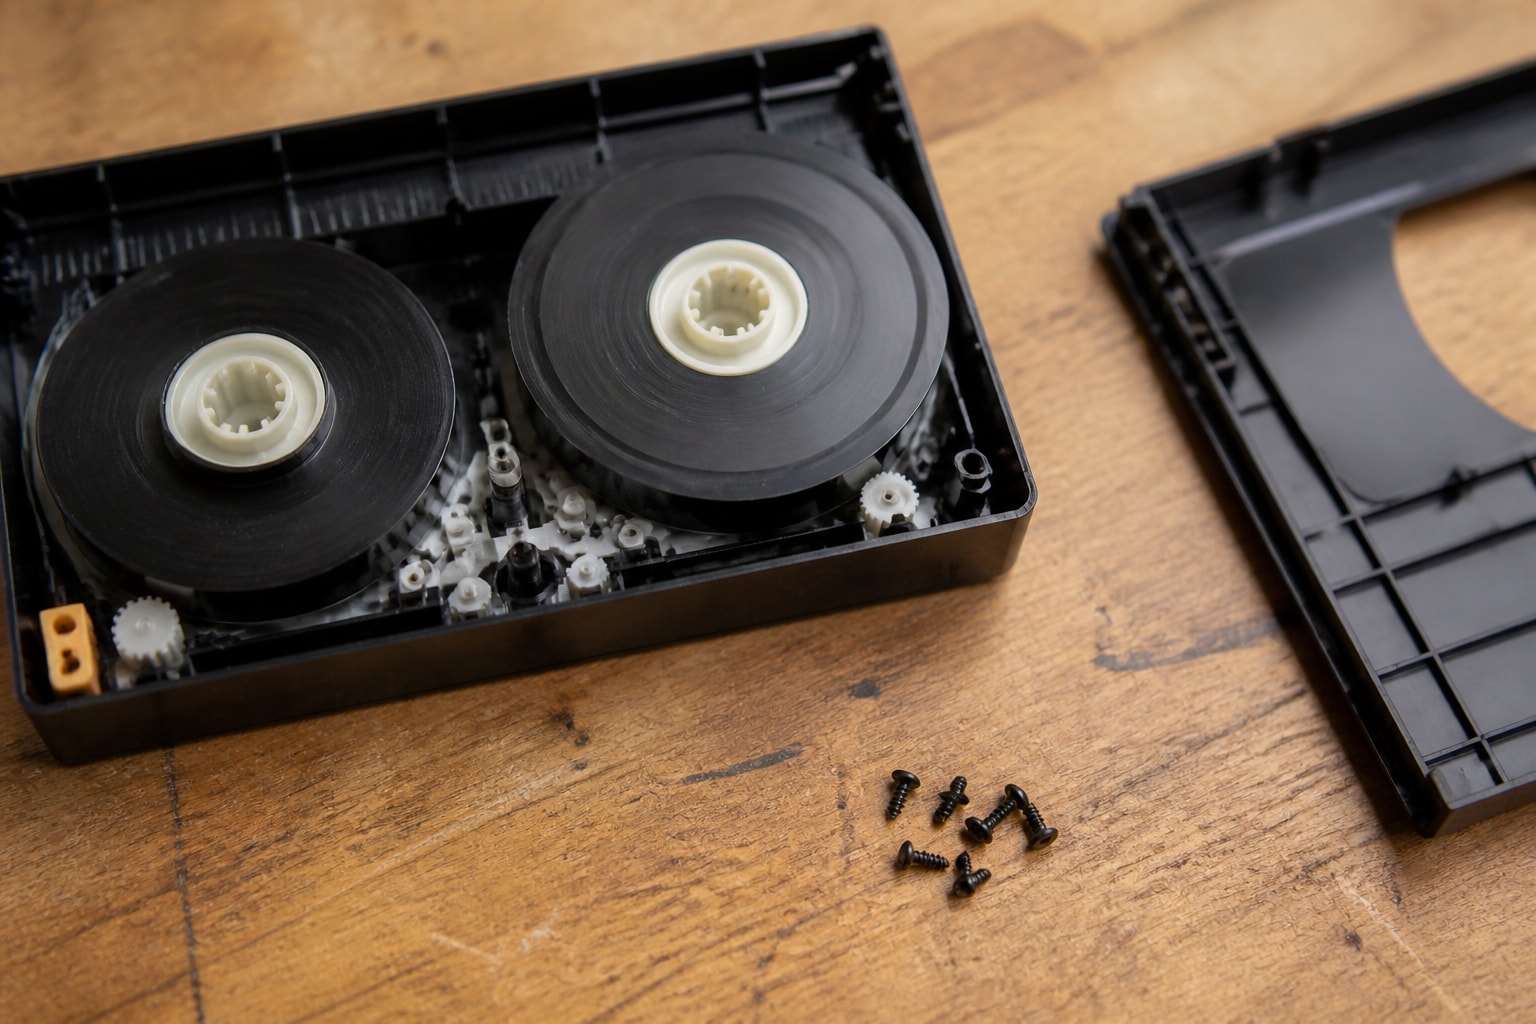
- Open the shell. Remove the five or six screws on the underside and lift the top half away. Photograph the tape path first so you can reassemble it correctly.
- Trim both ends square. Use a sharp blade and cut perpendicular to the tape edge, removing any stretched or creased material.
- Join the ends. Align the ends on a splicing block and apply a short piece of dedicated splicing tape to the base (non-oxide) side. Household adhesive tape leaves residue that will contaminate heads.
- Rewind by hand and test. Turn the reel hubs slowly to confirm the splice passes smoothly, then play it in a deck you trust.
A deeper treatment of the technique is available in our guide to VHS video tape repair. Be cautious with irreplaceable footage. A bad splice can snag in a transport and turn one break into several, so professionals often practice on junk tape first.
Fixing a Damaged Cassette Shell Without Touching the Tape
Swapping the tape pack into a donor shell is the most reliable fix when the cassette housing is cracked, the door is broken, or a guide roller has seized. The tape itself stays untouched, which keeps risk low.
Common shell failures include:
- A cracked or missing front flap that leaves the tape exposed to dust
- A stuck or broken spring that prevents the reel locks from releasing
- A warped shell that will not seat or eject properly
- A seized tape guide that scrapes the tape edge
For this job, match the donor shell carefully and avoid touching the tape surface with bare fingers. If you are working with compact camcorder formats, the process differs, and our notes on VHS-C repair cover the adapter and reel-geometry quirks that trip people up.
What to Do About Mold, Sticky Tape, and Shedding
Visible mold or a sticky, shedding tape should not be played at all, because the spores and residue transfer straight into the deck's heads and guides. Quarantine the cassette in a sealed bag, wash your hands, and wear gloves while handling it.
The Library of Congress advises following the machine manufacturer's instructions for deck cleaning, and notes that cleaning magnetic tape itself is delicate and should be left to a preservation specialist. Wiping a moldy tape with household cleaners or alcohol can smear contamination and strip the magnetic layer.
Humidity is the root cause in most cases. The National Archives notes that relative humidity above 65% can encourage mold growth, and it recommends keeping magnetic tape at 50 to 65°F and 30 to 40% relative humidity for long-term storage. A basement or attic shelf falls well outside that range.
Sticky-shed and brittle tape
Tapes with a binder breakdown may squeal, stall, or leave brown residue on the heads. This is a laboratory-level problem. Attempts to bake or lubricate tapes at home often make the damage worse, so route these cassettes to a specialist before any playback.
Common Deck Problems and What Causes Them
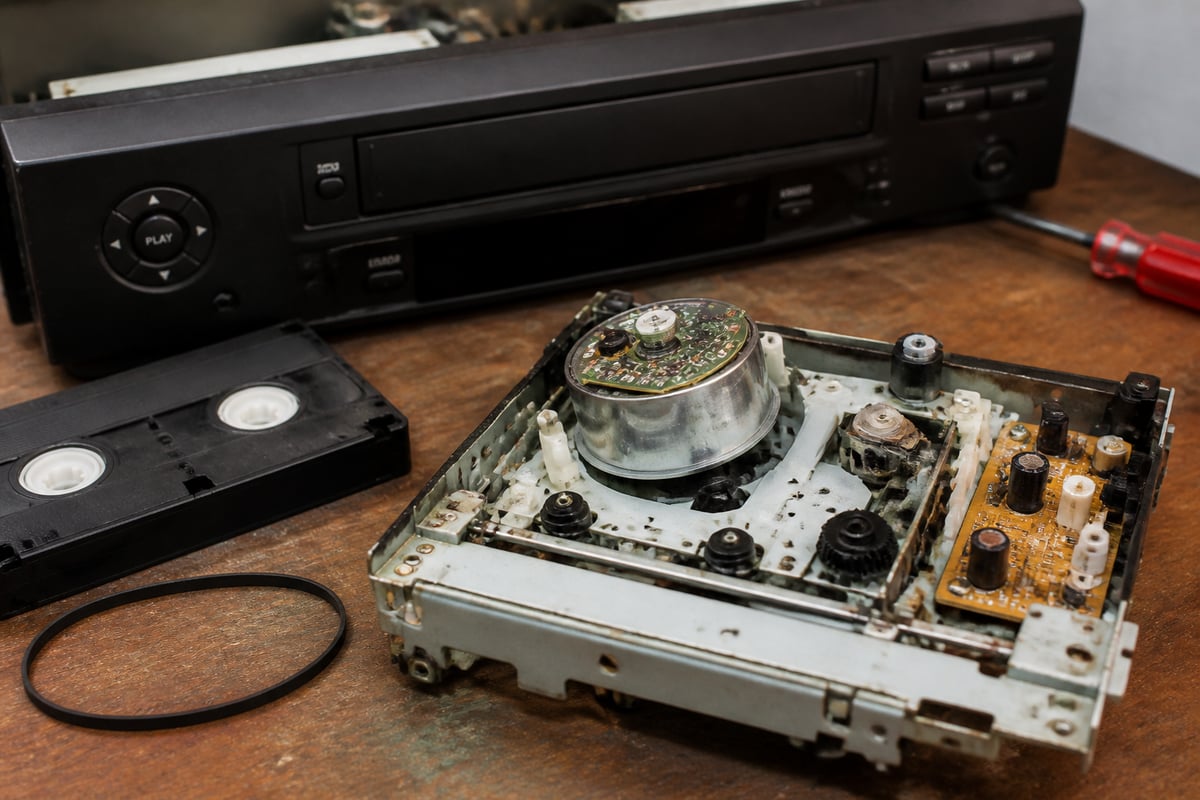
Most deck failures trace back to a short list of wear items: belts, idler tires, pinch rollers, and heads. Rubber and lubricants age even in machines that sat unused, so a deck that looks pristine can still be mechanically tired.
| Symptom | Likely cause | Typical fix |
|---|---|---|
| Tape will not load or eject | Stretched or broken loading belt, gummed grease | Replace belts, clean and relubricate mechanism |
| Picture is snowy or streaked | Dirty or worn video heads | Clean heads; replace drum if worn |
| Tape chewed on exit | Worn pinch roller or misaligned tape path | Replace roller, realign guides |
| Audio is warbly or fast/slow | Worn capstan motor or belt slippage | Service capstan assembly |
| Tracking never locks | Misaligned guides or failing control-head circuit | Align transport, test control head |
| Deck powers off or resets | Failed power supply capacitors | Recap power supply board |
If you are shopping for a unit to replace a failed deck, our overview of the VCR for VHS tapes covers what to look for in a transport that will stay reliable.
How to Clean VHS Heads Safely
Clean a deck's video heads only with the method specified in the manufacturer's service documentation, and avoid abrasive cleaning cassettes as a routine habit. Over-cleaning can wear the head faster than the dirt does.
The Library of Congress recommends following the playback machine manufacturer's instructions for cleaning and maintenance. In practice, that means:
- Use a wet-type cleaning cassette sparingly, with the correct fluid
- Inspect the drum with a light and magnification before reaching for a swab
- Never use cotton swabs on a head drum, because fibers catch on the head tips
- Keep magnets, speakers, and motors away from decks and tapes, as the National Archives warns that strong magnetic fields can damage recordings
If a cleaning pass does not restore picture quality, the heads are probably worn rather than dirty, and further cleaning wastes tape life. That is the point to stop and have the deck evaluated.
How Much Would It Cost to Fix a VHS Player?
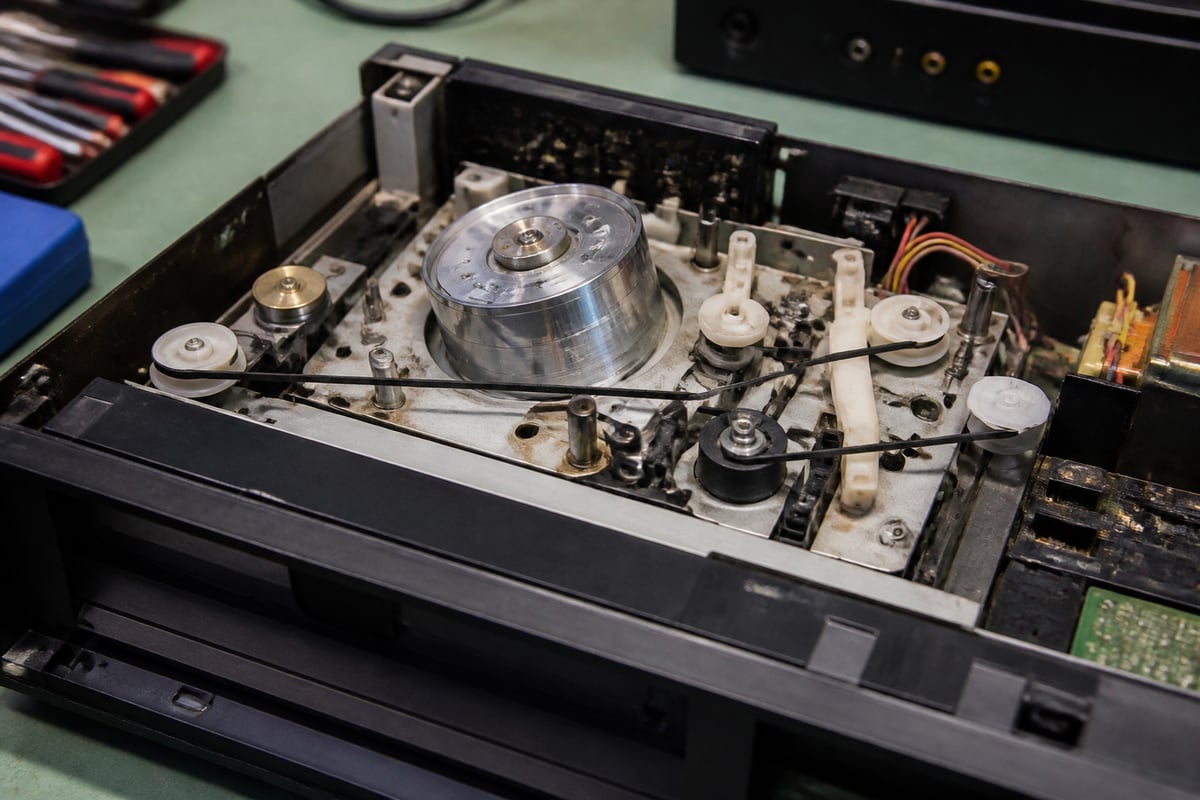
Repair cost depends on the fault, the deck class, and parts availability, and no single figure applies. A belt or roller replacement is a small job, while a worn head drum or a power-supply failure costs considerably more, and a consumer-grade deck can easily cost more to repair than it is worth.
Three factors drive the final bill:
- Diagnostic time. Finding a fault in an aging transport takes bench hours, and many shops charge a flat diagnostic fee up front.
- Parts scarcity. Professional and S-VHS-class parts are harder to source than consumer parts, and drums in particular are often salvaged from donor machines.
- Deck class. A broadcast or professional-grade deck is built to be serviced repeatedly, which makes repair economical. A bargain consumer deck usually is not.
For businesses digitizing large collections, downtime matters more than the repair price. A single failed deck can halt a whole transfer queue, which is why shops often weigh repair against renting a replacement or signing a maintenance plan. For hands-on details of the process, see our walkthrough on how to repair a VHS player. For professional bench service, VCR Supply's professional VCR and videotape deck repair covers diagnosis, preventive service, and mechanical and electronic repair of customer-owned decks.
Storage Habits That Prevent Most Repairs
Most cassette damage is preventable with correct storage, and correct storage costs almost nothing. Store tapes upright on their edge, in cases, in a cool and stable room.
The key rules:
- Store vertically. The National Archives advises storing VHS tapes vertically on edge in a box and avoiding laying them flat or stacking them, which stresses the tape pack.
- Control the climate. For home collections, the Library of Congress recommends a clean, stable environment around 35 to 40% relative humidity at room temperature or cooler. The National Archives' video guidance recommends 55 to 70°F and 30 to 55% relative humidity with minimal fluctuation.
- Remove tapes from decks. The National Archives advises not leaving a tape inside a VCR when it is not in use.
- Rewind before shelving. Tapes stored at the end of a pass keep the pack more even and reduce edge damage.
Additional reference ranges for different media are available from NEDCC's temperature and relative humidity guidelines.
Repair a Deck or Rent One: A Decision Framework for Digitization Work
When a deck fails mid-project, the useful question is whether the machine is worth restoring or whether a rented unit gets the job finished sooner. Repairing makes sense for a high-grade deck you will use for years, and renting makes sense when a deadline is closer than a repair queue.
Weigh these points:
- Project timeline. If transfers are due soon, a swap keeps the queue moving while the original deck is on the bench.
- Deck quality. Professional S-VHS decks reward repair. Low-end consumer units rarely do.
- Volume ahead. A large backlog justifies preventive service and spare capacity, not just a one-time fix.
- Format mix. Collections with S-VHS, Betamax, MiniDV, or Digital8 tapes need dedicated decks, and failures in rarer formats are costlier to wait out.
For S-VHS specifically, the S-VHS deck rental page and our guide to the differences between VHS and S-VHS help clarify which transport a given tape actually needs. Tapes recorded in S-VHS may not play correctly on a standard VHS deck, which can look like a repair problem when it is a format mismatch.
FAQ
What VHS tape sold for $75,000?
No verified sale at that price can be confirmed here, so treat the figure with skepticism. Sealed first-run titles and rare promotional tapes sometimes reach high auction prices, but most commercial VHS tapes carry little resale value. A tape's worth to a collector depends on rarity, sealed condition, and provenance, not simply age.
Is there anything to do with old VHS tapes?
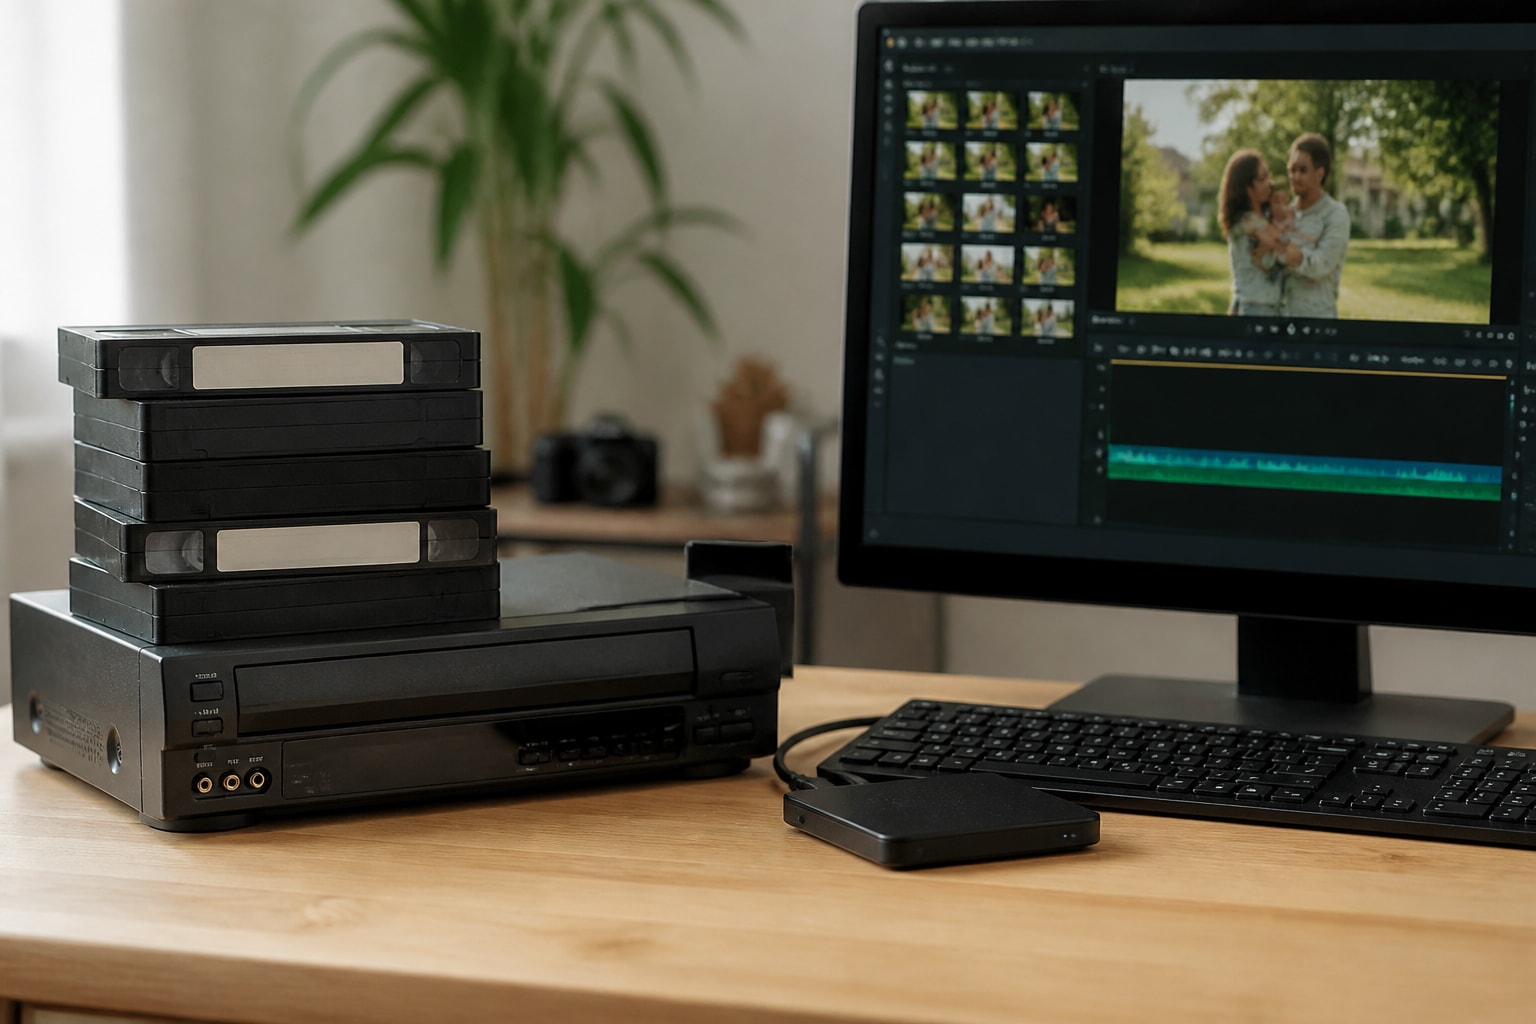
Yes. The best option is to digitize them before the tape or the available decks fail, since magnetic tape degrades and working machines are becoming harder to find. Tapes that are moldy, shedding, or physically damaged should go to a preservation specialist rather than be played at home. Tapes with no sentimental or archival value can be recycled through a media-recycling program.
Your next step is to pull one problem tape and one healthy tape and run the swap test described above, which tells you whether you need cassette repair or deck service. If the deck is at fault, VCR Supply's professional VCR and videotape deck repair offers bench diagnosis, with a $95 diagnostic and preventive service from $195 plus parts, and the company also rents decks starting at $99 per month and offers maintenance contracts to reduce downtime for digitization shops. Contact them to get a failing S-VHS, Betamax, MiniDV, or Digital8 deck back in service before it holds up your transfer queue.